4 Ingredient S’more Bars
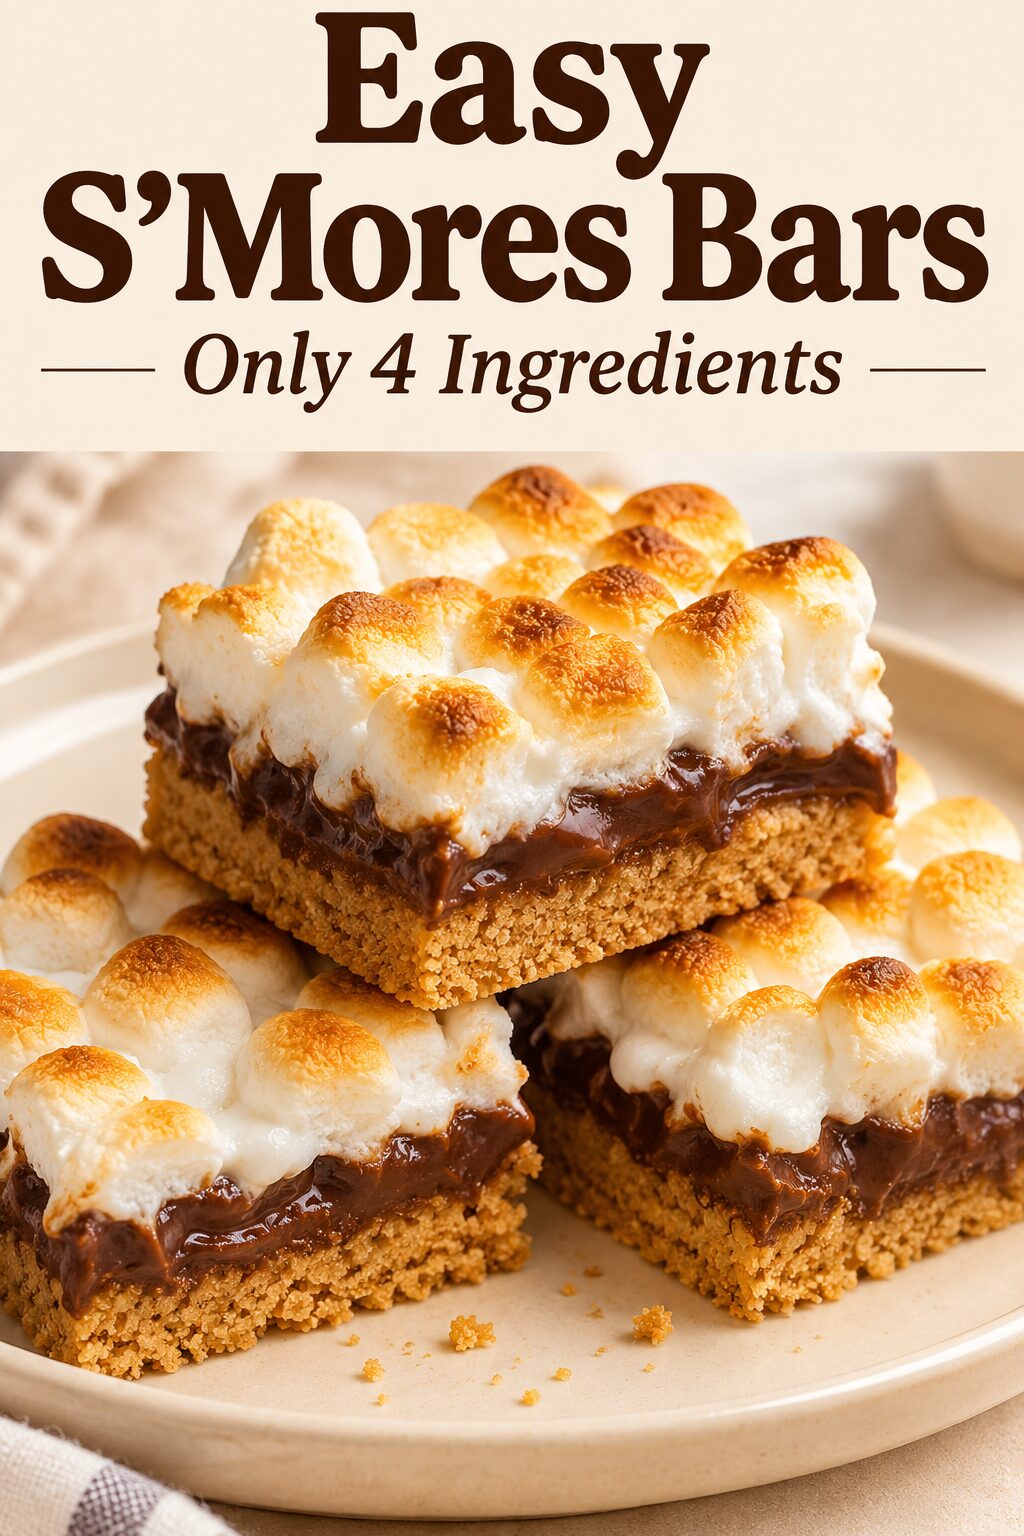
Buttery graham crackers, melted chocolate, and golden marshmallows—these 4 ingredient s’more bars bring all the best parts of a campfire treat to a simple baking pan. There’s no cookie dough to mix and no campfire required. Just press in the crust, bake, and layer on the chocolate and marshmallows.
Serve them slightly warm for a gooey dessert, or let them cool completely for squares you can pick up. They’re an easy option for family movie night, a weekend treat, or a casual get-together.
Why You’ll Love These S’more Bars
- Only four ingredients: Graham crackers, butter, chocolate, and marshmallows.
- No mixer needed: A bowl, spoon, and baking pan do the work.
- Classic s’mores flavor: A crisp-edged crust with chocolate and toasted marshmallow on top.
- Easy to portion: Cut into 16 small squares or 9 larger bars.
Ingredients
For one 8-inch square pan, you’ll need:
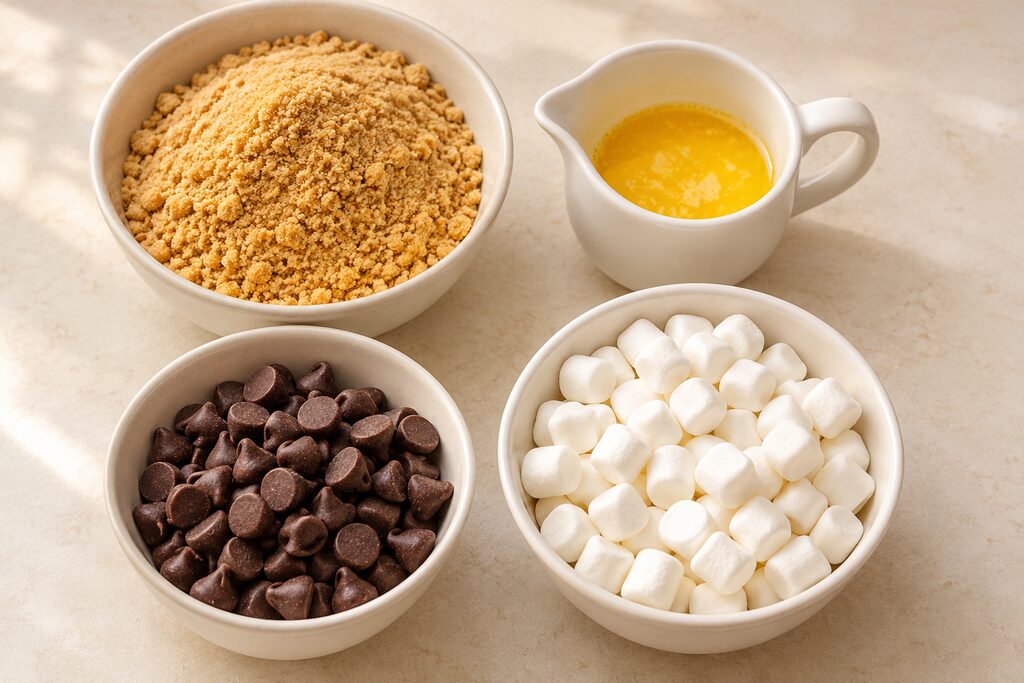
- 2 cups finely crushed graham cracker crumbs (about 200 g; the number of crackers varies by brand)
- ½ cup unsalted butter, melted (113 g)
- 1½ cups semisweet chocolate chips (about 255 g)
- 3 cups mini marshmallows (about 130 g)
The graham crackers already bring sweetness to the crust, so there’s no extra sugar to add. Semisweet chocolate helps balance the marshmallows, but you can use milk chocolate chips for a sweeter, more traditional s’mores flavor.
How to Make 4 Ingredient S’more Bars
1. Prepare the Pan
Preheat your oven to 350°F (175°C). Line an 8-inch square metal baking pan with parchment paper, leaving an overhang on two sides so you can lift out the cooled bars. Keep the paper tucked inside the pan and away from the oven’s heating elements.
2. Make the Graham Cracker Crust
Stir the graham cracker crumbs and melted butter together until the crumbs are evenly moistened. Tip the mixture into the prepared pan and press firmly into an even layer. Use the flat bottom of a measuring cup to pack it down, especially around the edges.
Bake for 8–10 minutes, until the edges look lightly golden and the crust smells toasted.
3. Add the Chocolate
Scatter the chocolate chips evenly over the hot crust. Return the pan to the oven for 2–3 minutes, just until the chips soften. Gently spread them into a chocolate layer with the back of a spoon or a small spatula, taking care not to disturb the crust.
4. Add the Marshmallows
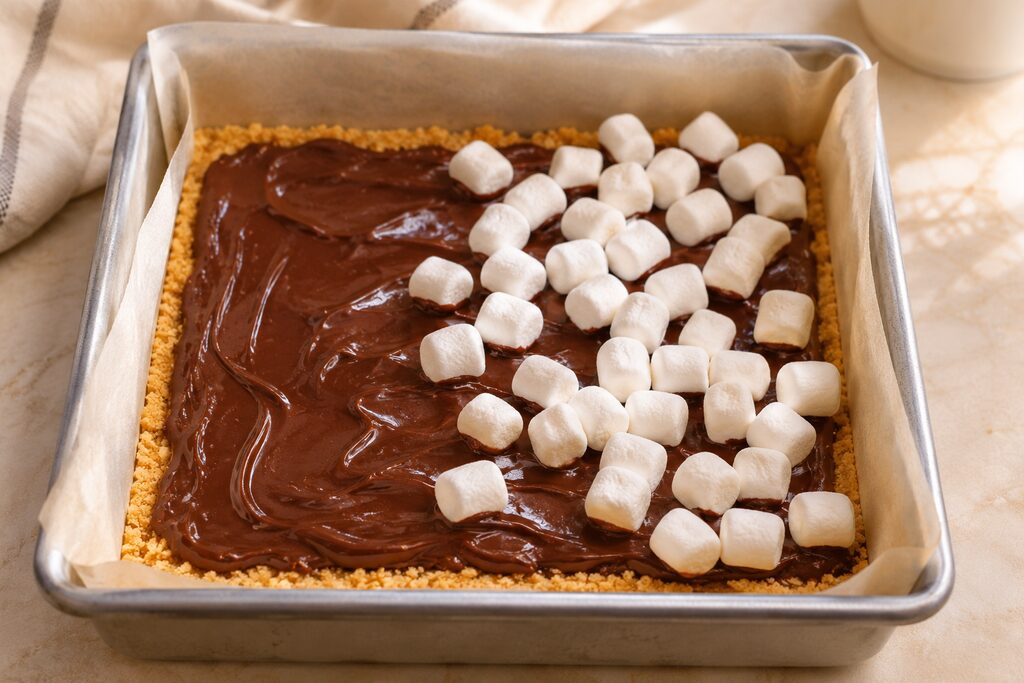
Cover the chocolate with the mini marshmallows. Return the pan to the oven for 5–8 minutes, until the marshmallows are puffed and lightly golden on top. Start checking early; marshmallows can go from golden to dark quickly.
5. Cool and Slice
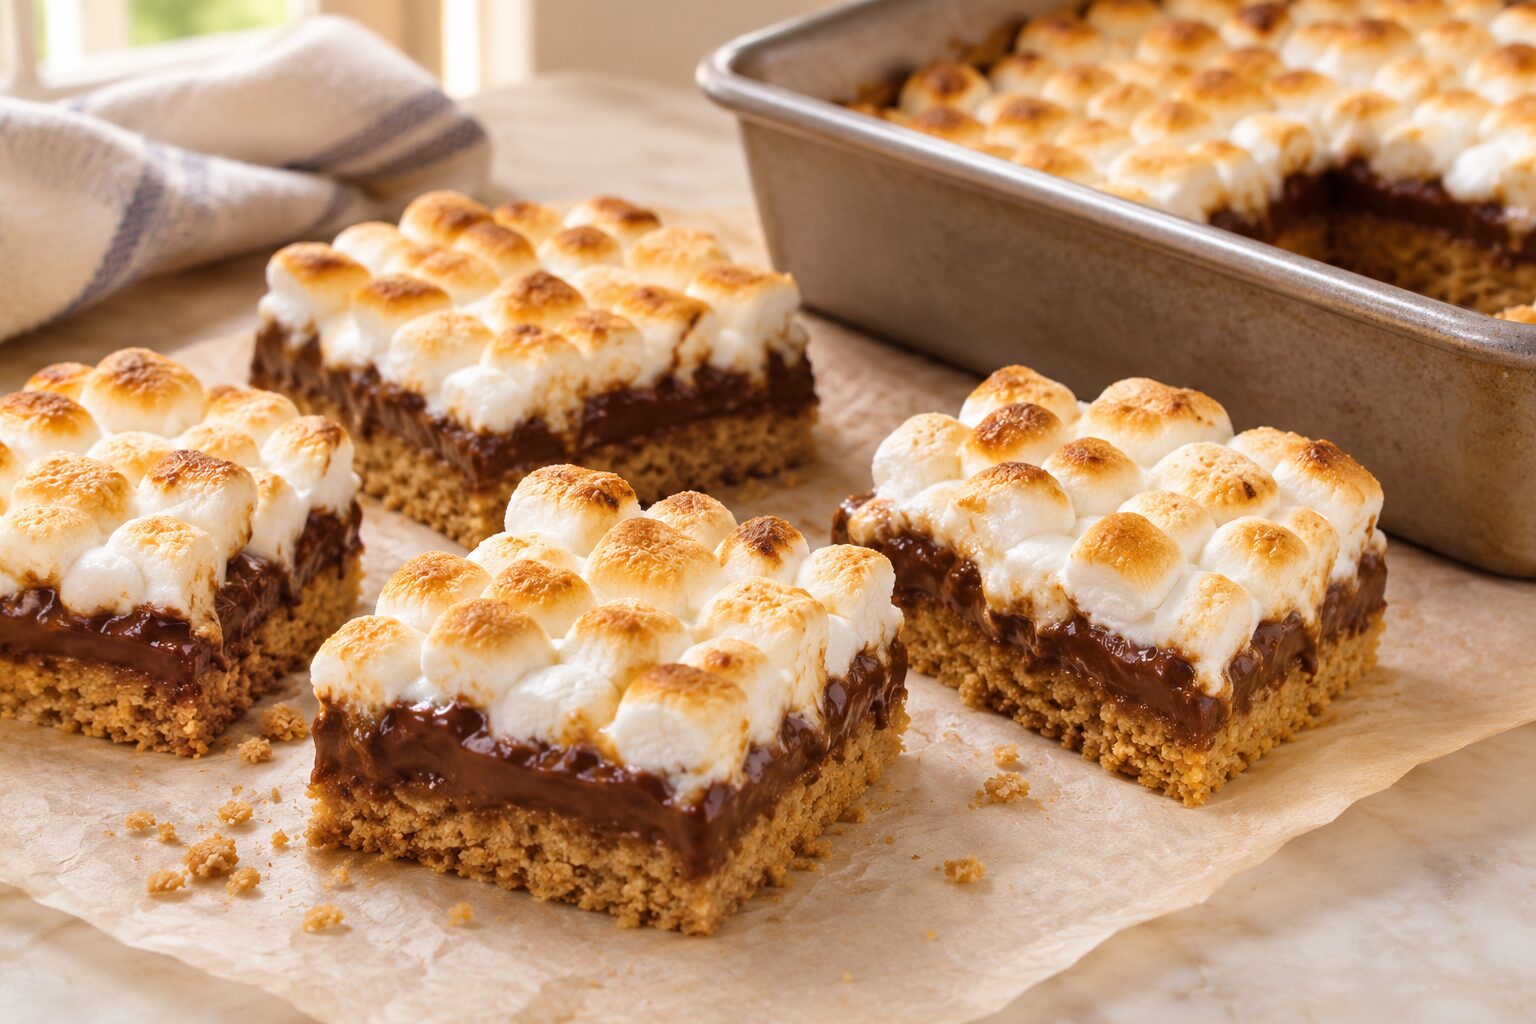
Set the pan on a cooling rack. For gooey servings, let it stand for about 20–30 minutes, then serve with a spatula. The chocolate will still be soft, so these portions will be messy.
For firmer bars, cool completely in the pan, about 2 hours, and refrigerate briefly if the chocolate is still soft. Lift out using the parchment and cut into squares with a sharp knife. Lightly buttering the blade and wiping it between cuts can help with the sticky marshmallow topping.
Tips for Better S’more Bars
Crush the crackers finely. Large pieces make a crust that’s more likely to fall apart. Use a food processor or crush them in a sealed bag with a rolling pin.
Press the crust firmly. This is a crumb crust, so a little crumbling is normal. Packing it well and letting the bars cool makes a big difference.
Use the right pan size. A 9-inch square pan makes thinner bars and may need less baking time. A 9-by-13-inch pan is too large for this quantity.
Don’t overbake the topping. Take the bars out when the marshmallows are puffed and lightly golden. Prolonged baking can make them chewy and tough as they cool.
Storage and Make-Ahead Tips
These bars have the best marshmallow texture on the day they’re made. Once completely cool, store them in an airtight container at cool room temperature for up to 2 days. Arrange them in a single layer if possible; the tops are sticky.
If your kitchen is warm, refrigerate them for up to 4 days and let them sit at room temperature before serving. The chocolate will firm up in the fridge, and the marshmallows may become chewier.
To get a head start, crush the graham crackers ahead of time and keep the crumbs in a sealed container until you’re ready to bake.
Frequently Asked Questions
Can I use chocolate bars instead of chocolate chips?
Yes. Replace the chips with 9 ounces (255 g) of chopped milk or semisweet chocolate. Spread it over the crust and warm just until soft enough to spread.
Can I use large marshmallows?
Mini marshmallows make it easier to cover the pan evenly. If you only have large marshmallows, cut them into smaller pieces with lightly buttered kitchen scissors and use approximately 130 g.
Why did my crust crumble?
Coarse crumbs, loose packing, or slicing while warm can all cause crumbling. Measure the crumbs carefully, mix thoroughly with the butter, and press firmly before baking. Cool completely for the neatest bars.
Are these no-bake s’more bars?
No. This version uses the oven to set the graham cracker crust, melt the chocolate, and toast the marshmallows.
4 Ingredient S’more Bars Recipe
Yield: 16 small bars
Prep time: 10 minutes
Bake time: 15–21 minutes
Cooling time: About 2 hours for firmer bars
Total time: About 2 hours 30 minutes, including cooling
Ingredients
- 2 cups finely crushed graham cracker crumbs (about 200 g)
- ½ cup unsalted butter, melted (113 g)
- 1½ cups semisweet chocolate chips (about 255 g)
- 3 cups mini marshmallows (about 130 g)
Instructions
- Preheat oven to 350°F (175°C). Line an 8-inch square metal baking pan with parchment paper, leaving an overhang for lifting.
- Mix graham cracker crumbs with melted butter. Press firmly into an even layer in the pan.
- Bake for 8–10 minutes, until the edges are lightly golden.
- Sprinkle chocolate chips over the hot crust. Bake for 2–3 minutes, then gently spread the softened chocolate.
- Top evenly with mini marshmallows. Bake for another 5–8 minutes, until puffed and lightly golden, watching closely near the end.
- Cool completely in the pan for firmer bars, about 2 hours. If needed, chill briefly to set the chocolate. Lift out and slice into 16 squares.
Recipe note: For a warm, gooey dessert, cool for 20–30 minutes and serve with a spatula. Warm portions won’t hold their shape as neatly as fully cooled bars.