Christmas M&M Cookie Bars
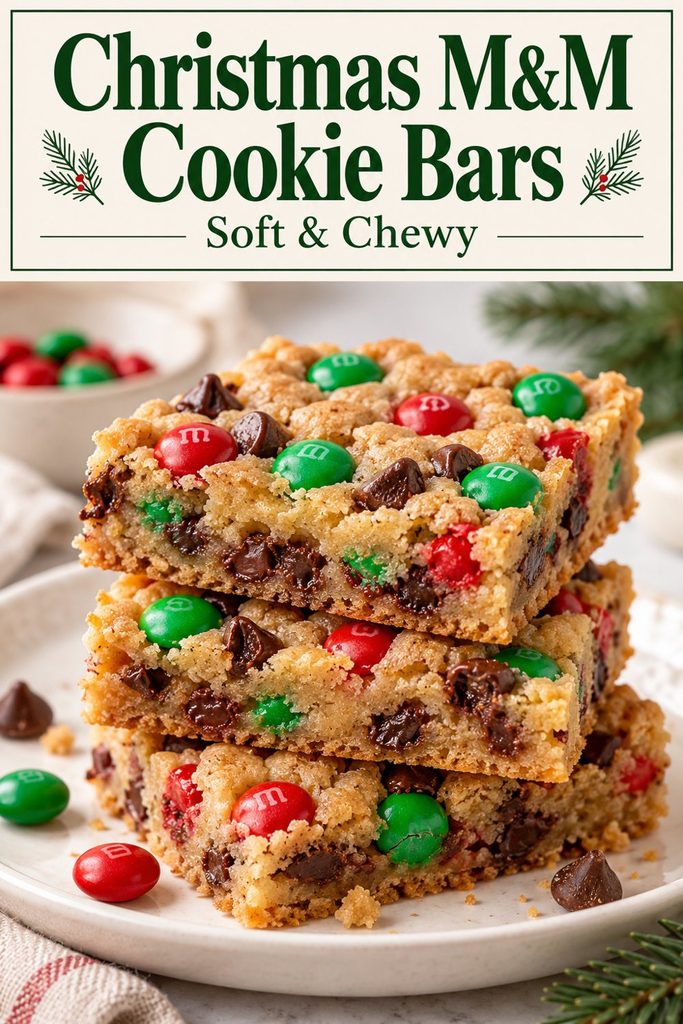
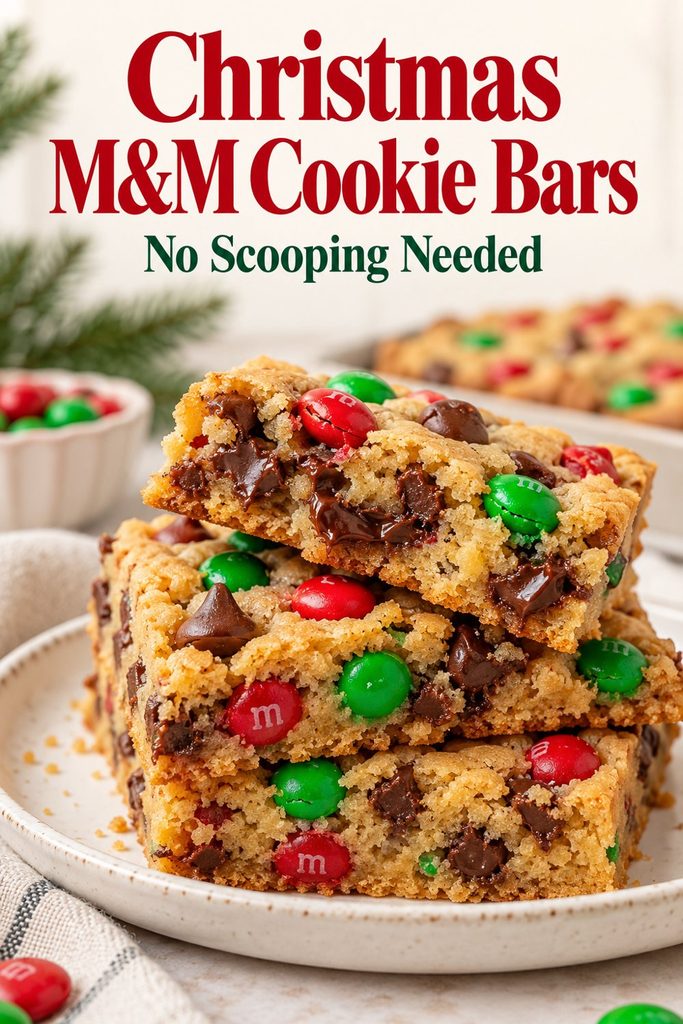
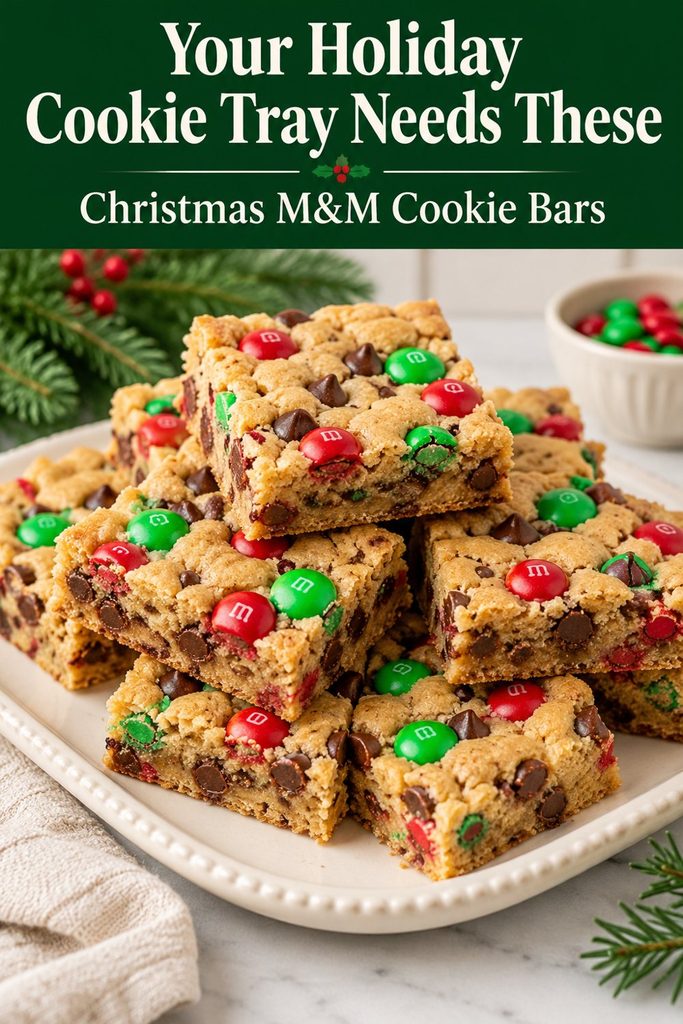
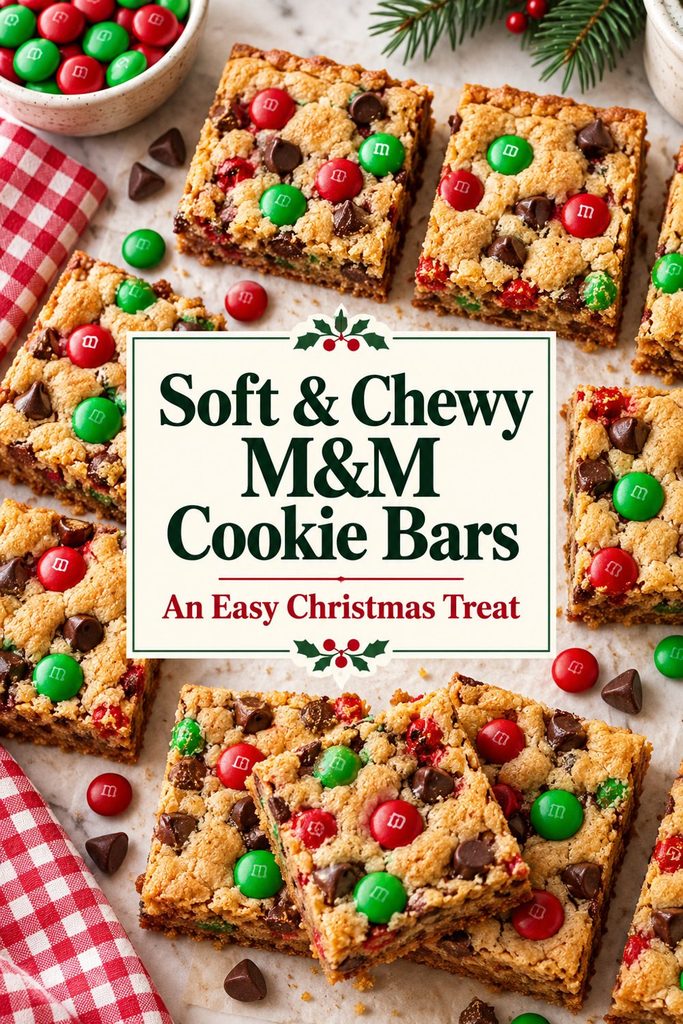
These Christmas M&M cookie bars have buttery, chewy centers, lightly golden edges, and plenty of chocolate in every bite. Red and green M&M’s make them festive without any frosting or decorating, and the whole batch bakes in one pan.
They’re an easy addition to a Christmas cookie tray, especially when you want homemade cookies without scooping and baking several batches. Just mix the dough, press it into the pan, and slice into squares once cool.
Why You’ll Love These Cookie Bars
- No chilling or scooping: The dough goes straight into the pan.
- Soft, chewy texture: Melted butter and extra brown sugar help keep the centers tender.
- Easy to share: One 9×13-inch pan makes 24 bars.
- Festive with little effort: A handful of red and green M&M’s does the decorating.
Christmas M&M Cookie Bars Recipe
Yield: 24 bars
Prep time: 15 minutes
Bake time: 25–30 minutes
Cooling time: About 1 hour
Ingredients
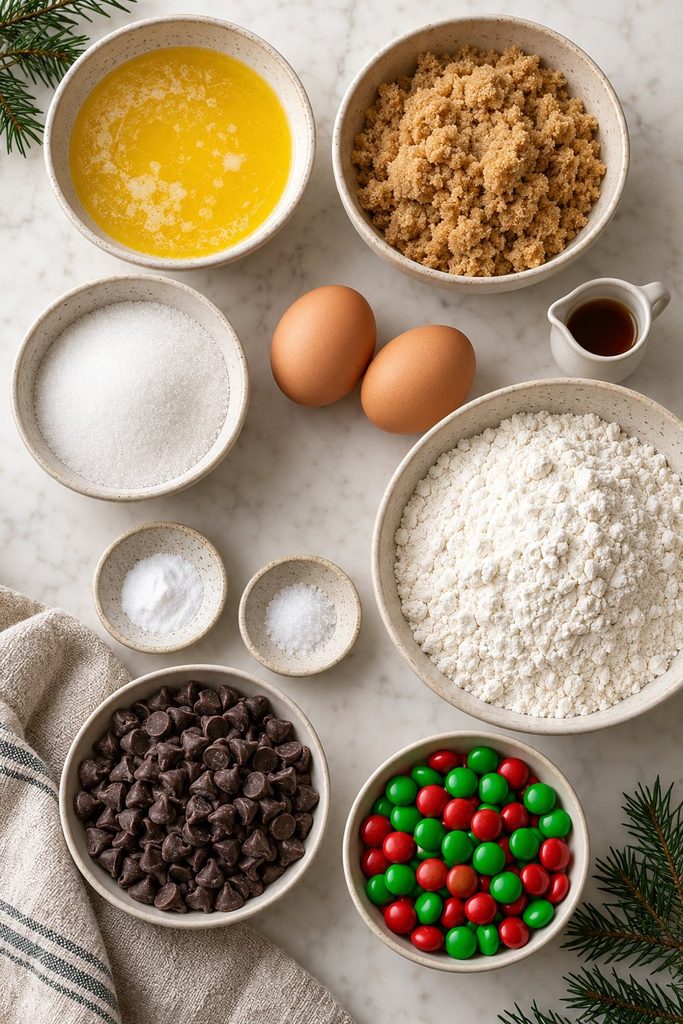
- 1 cup (226 g) unsalted butter, melted and cooled until just warm
- 1 cup (200 g) packed light brown sugar
- ½ cup (100 g) granulated sugar
- 2 large eggs, at room temperature
- 2 teaspoons vanilla extract
- 2¾ cups (330 g) all-purpose flour, spooned and leveled
- 1 teaspoon baking soda
- ¾ teaspoon fine salt
- 1 cup (170 g) semisweet chocolate chips
- 1¼ cups Christmas milk chocolate M&M’s, divided
Instructions
- Prepare the oven and pan. Preheat the oven to 350°F (175°C). Line a 9×13-inch metal baking pan with parchment paper, leaving an overhang along two sides so you can lift out the baked bars.
- Mix the butter and sugars. In a large bowl, whisk the melted butter, brown sugar, and granulated sugar until well combined. The butter should feel just warm, rather than hot, before you add the eggs.
- Add the eggs and vanilla. Whisk in the eggs and vanilla until the mixture looks smooth and glossy.
- Combine the dry ingredients. In a separate bowl, whisk together the flour, baking soda, and salt.
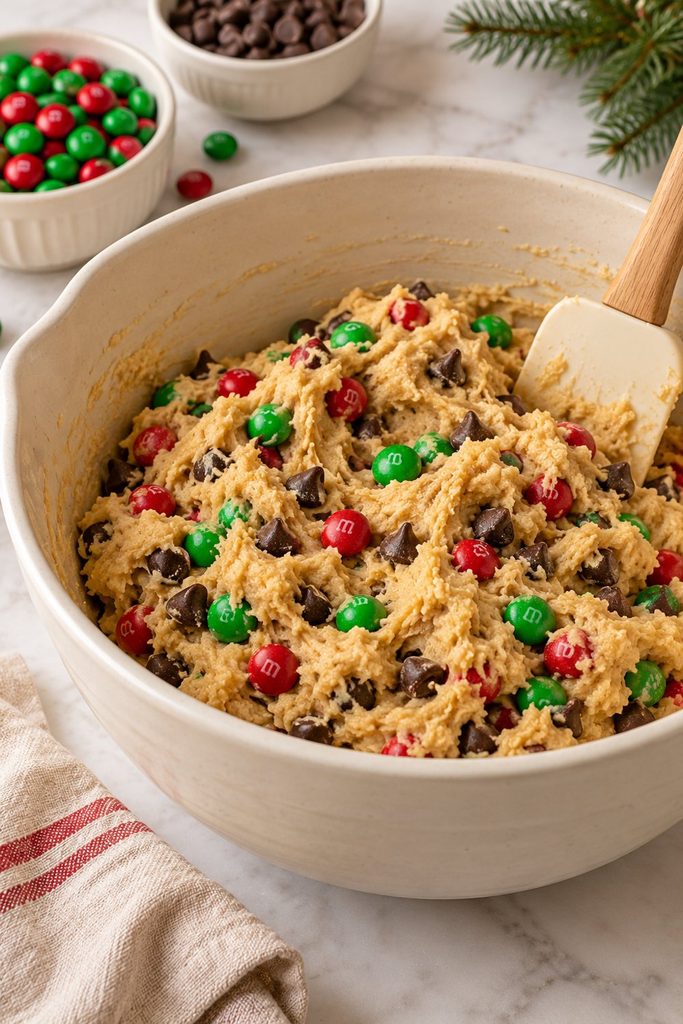
- Make the dough. Add the dry ingredients to the butter mixture. Stir with a spatula just until no dry streaks of flour remain. Fold in the chocolate chips and 1 cup of the M&M’s. The dough will be thick.
- Fill the pan. Spread the dough evenly into the prepared pan, pressing it into the corners. Sprinkle the remaining ¼ cup M&M’s over the top and gently press them into the dough.
- Bake. Bake for 25–30 minutes, checking at 25 minutes. The edges should be lightly golden, and the center should look set without appearing wet. A toothpick inserted near the center should come out with a few moist crumbs; melted chocolate is fine, but raw batter means the bars need more time.
- Cool and slice. Let the bars cool completely in the pan on a wire rack. Lift them out using the parchment paper and cut into 24 squares.
Tips for Soft, Chewy Cookie Bars
Measure the flour carefully
Too much flour can make cookie bars dry and cakey. For the most consistent result, weigh the flour. If using measuring cups, fluff the flour, spoon it into the cup, and level it off without packing it down.
Use a metal baking pan
A light-colored metal pan is a good choice for even baking. Glass and ceramic pans can bake differently, so watch the edges and center closely if you use one.
Avoid overmixing
Once the flour goes in, stir only until the dough comes together. Fold in the chocolate gently to keep the bars tender.
Check before the timer ends
The bars continue to firm up as they cool. Start checking at 25 minutes, and use the appearance of the center along with the toothpick test to judge doneness.
Cool before cutting
Warm cookie bars are softer and more likely to fall apart. For tidy squares, let the slab cool completely and wipe the knife between cuts.
Easy Variations
Use mini M&M’s: Substitute the same measured amount of mini Christmas M&M’s for smaller candy pieces throughout the bars.
Try white chocolate: Replace the semisweet chocolate chips with white chocolate chips for a sweeter version.
Add holiday sprinkles: Fold in 2 tablespoons of red, green, and white jimmies with the chocolate. Avoid adding too many, which can change the texture.
Make smaller tray treats: Cut the cooled slab into 36 smaller pieces for a Christmas dessert platter.
How to Store Christmas M&M Cookie Bars
Once completely cool, store the bars in an airtight container at room temperature for up to 4 days. Keep them away from heat so the chocolate stays firm.
For longer storage, wrap individual bars and place them in a freezer-safe container or bag. Freeze for up to 3 months, then thaw at room temperature before serving. Place parchment paper between layers to prevent sticking.
Frequently Asked Questions
Can I make these cookie bars ahead of time?
Yes. Bake them a day ahead, let them cool completely, and store them airtight. Slice before serving, or store the cut bars with parchment between the layers.
Can I use regular M&M’s?
Yes. Regular milk chocolate M&M’s work just as well. The red and green variety simply gives the bars their Christmas colors.
Why did my cookie bars turn out dry?
The most likely causes are too much flour or baking too long. Weigh the flour when possible and begin checking the bars at the early end of the baking range.
Why are my cookie bars gooey in the middle?
They may need more cooling time or may have been underbaked. Warm melted chocolate is normal, but the dough itself should be set before the pan comes out of the oven. If the center still looks wet, continue baking in short intervals.
Can I use salted butter?
Yes. If using salted butter, reduce the added fine salt to ¼ teaspoon.
Do the M&M’s melt in the oven?
The chocolate inside softens while the candy shells generally hold their shape. Some shells may crack during baking, which is normal.
A Simple Christmas Treat to Share
Serve these Christmas M&M cookie bars alongside sugar cookies, gingerbread, or a mug of hot chocolate. Their colorful tops make them an easy choice for holiday gatherings, and baking everything in one pan keeps the prep manageable during a busy season.