35 Homemade Food Christmas Gifts
Nobody needs another candle, but everybody needs snacks. These edible Christmas gifts cover every budget, skill level, and picky uncle on your list, so scroll until something makes you say “oh, that’s the one.”
This post may contain affiliate links which helps me keep this blog alive, questions? View the privacy policy.
Classic Sweet Treats That Never Miss
1. Peppermint Bark Tins
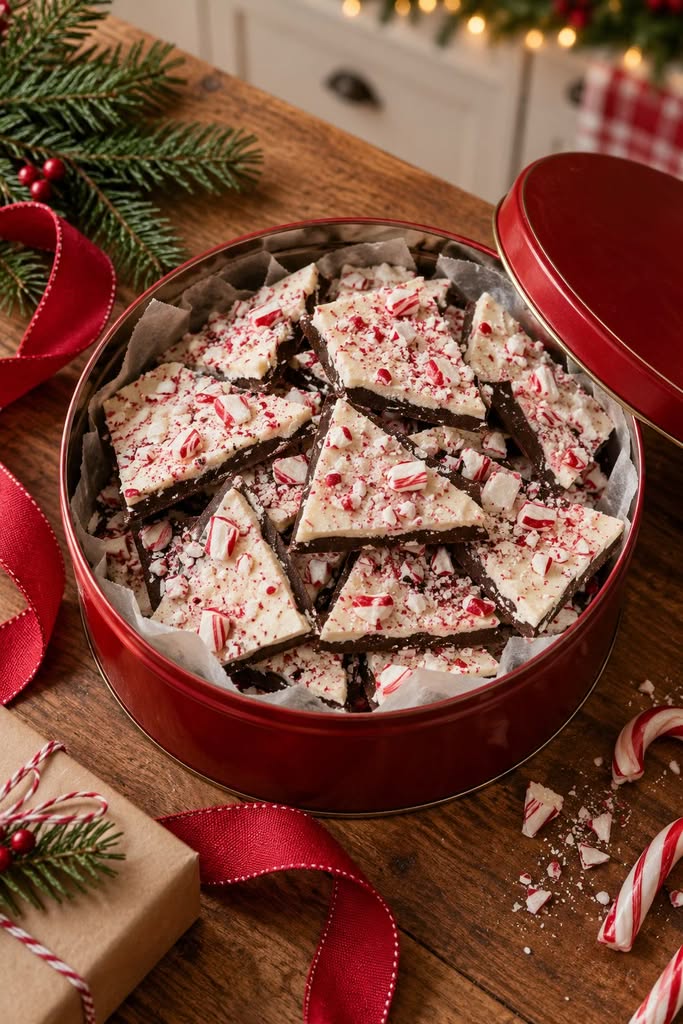
Layers of dark and white chocolate topped with crushed candy canes, snapped into jagged shards that look like stained glass when the lid pops off. It’s about 20 minutes of real work and then the fridge takes over. Stack the pieces between sheets of parchment so nobody gets a smudged shard.
2. Iced Gingerbread Cookie Boxes
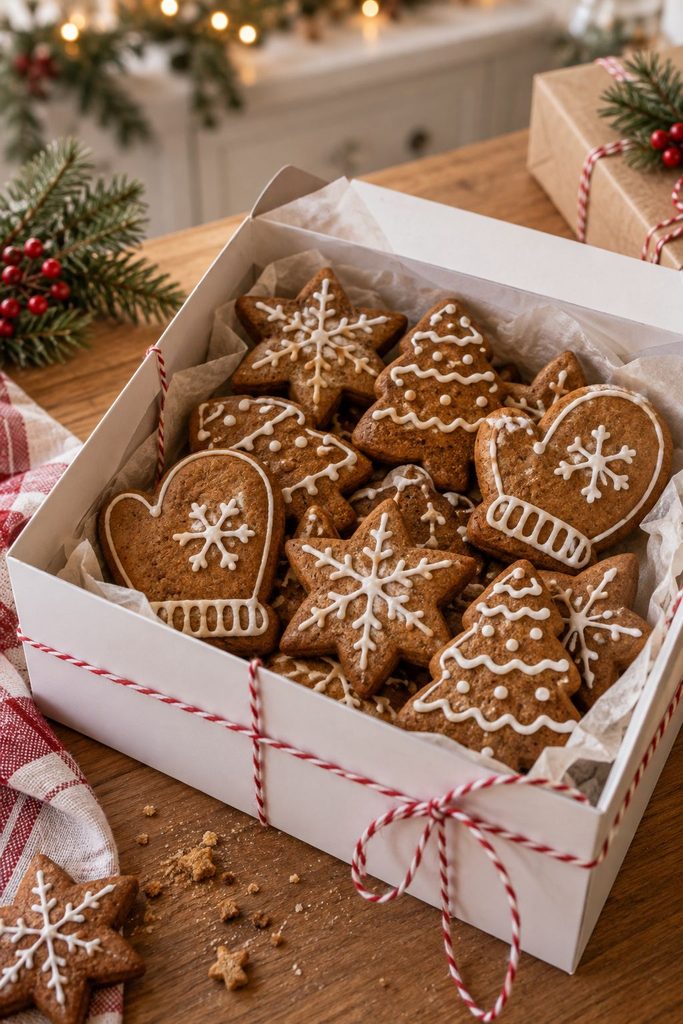
Molasses-dark, spicy gingerbread cut into stars and mittens, then piped with plain white icing that looks fancy but forgives wobbly hands. The smell hits before the lid is fully off. Bake them a day early so the icing sets hard and survives the trip to the office party. Pack them in a bakery gift box with a window so everyone can see what’s inside.
3. Maple Walnut Fudge Squares
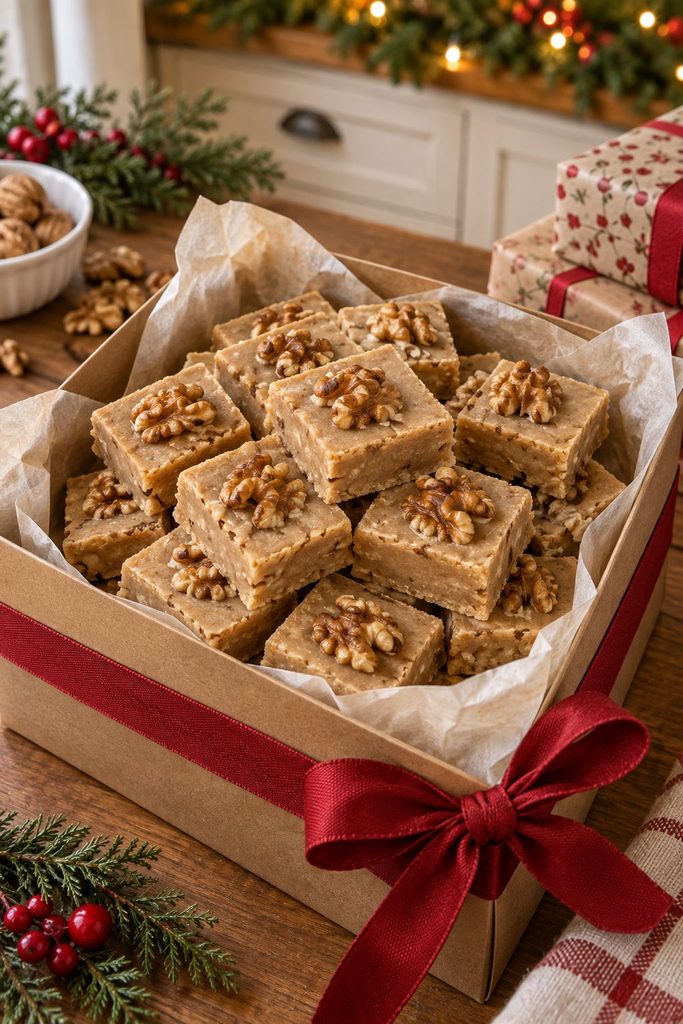
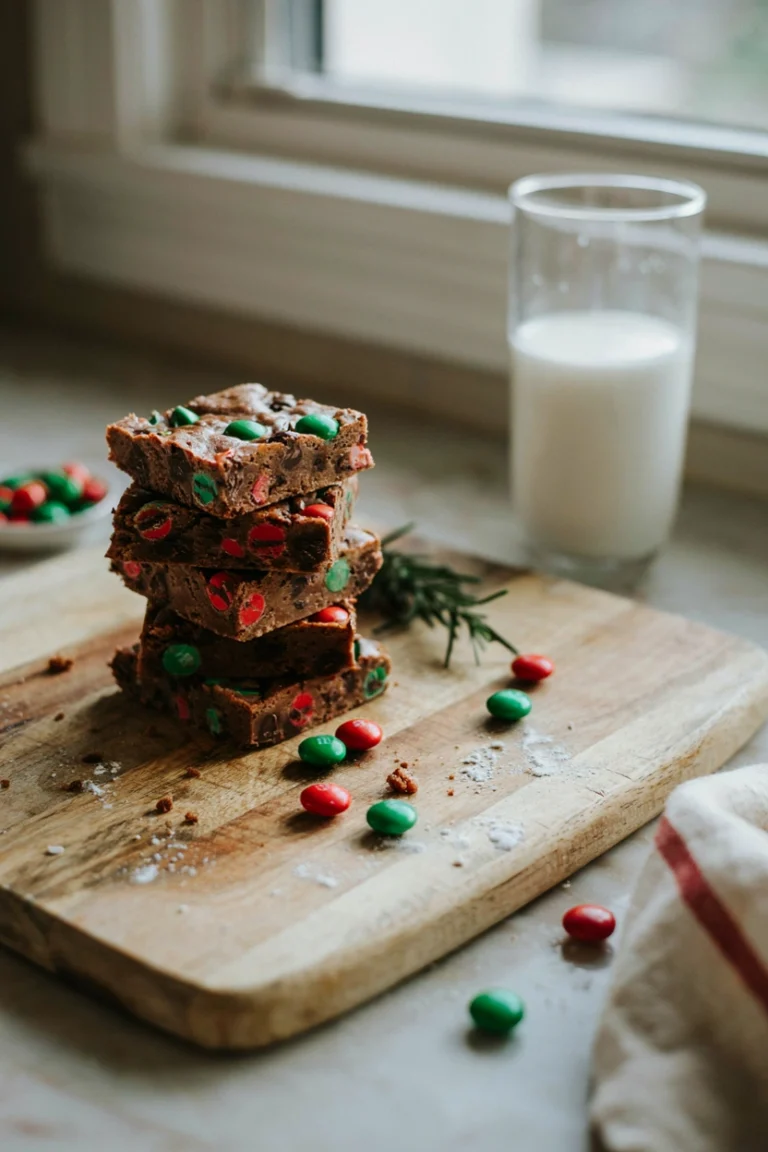
Creamy, slightly grainy-in-the-good-way fudge that tastes like a pancake breakfast wandered into a candy shop. It’s rich, so cut small squares and layer them with parchment. It keeps for about two weeks, which means you can make it early and stop panicking.
4. Salted Caramels in Wax Paper
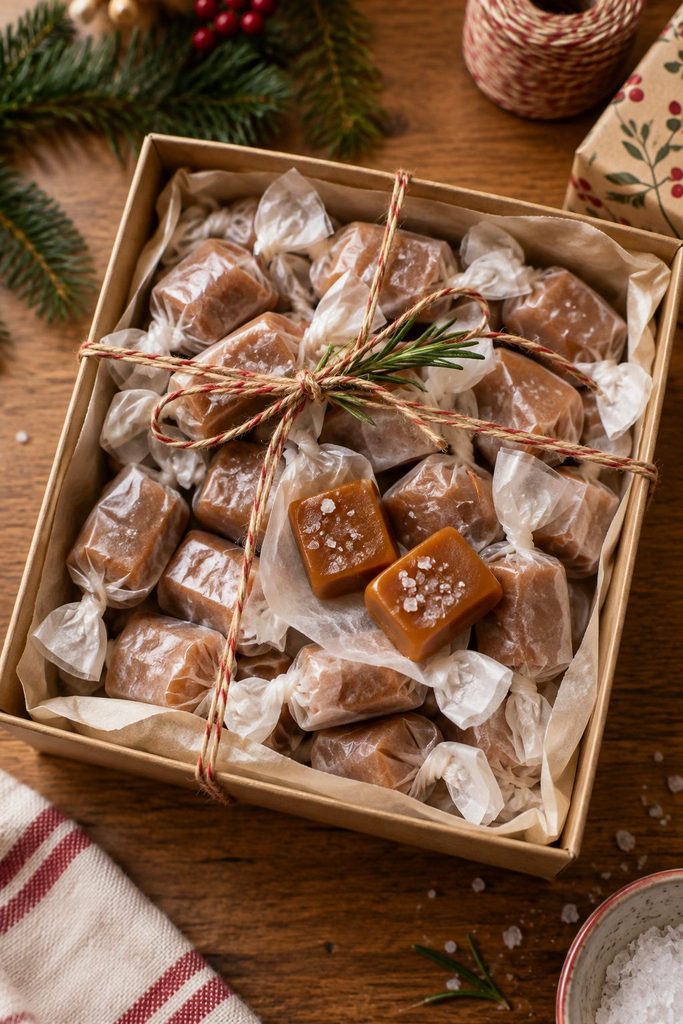
Soft, chewy, butter-gold cubes finished with flaky salt, each twisted into its own wax paper wrapper like something from a fancy candy counter. A candy thermometer takes the guesswork out of the cooking, and the wrapping takes longer than the cooking, so put a movie on. Tie six together with kitchen twine and a sprig of rosemary and it looks like it cost triple.
5. Chocolate-Dipped Pretzel Rods
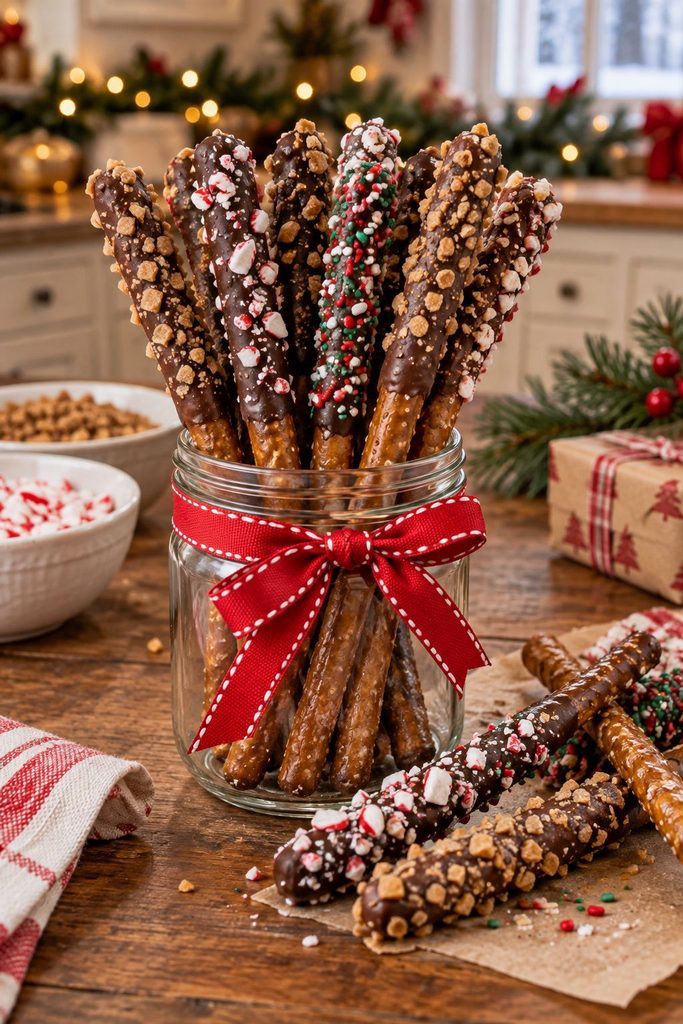
Salty, crunchy, and gloriously messy, each rod gets a chocolate dunk and a roll in toffee bits or sprinkles. This is the friendliest project on the list for kids, so hand over the sprinkles and let them go wild. A set of chocolate dipping tools keeps the mess (mostly) under control. Slide five into a cellophane bag, add a ribbon, and you’re done in an afternoon.
6. Vanilla Bean Marshmallows
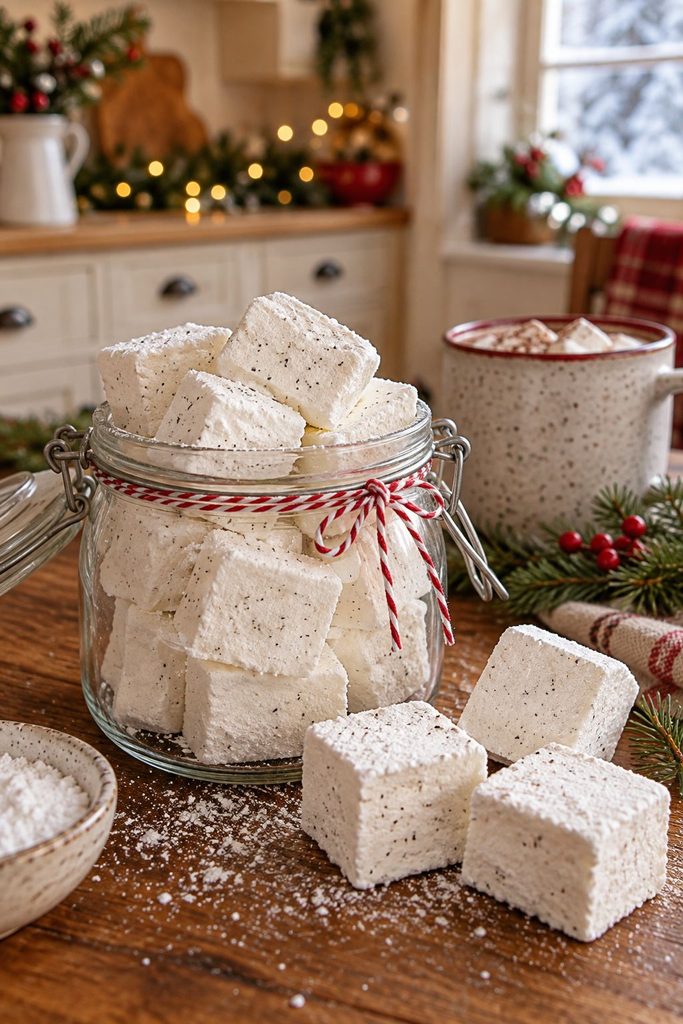
Fluffy squares flecked with real vanilla bean that melt into a mug of cocoa like they were born to. Homemade ones taste nothing like the bagged kind, all custardy and fragrant. Toss them in cornstarch and powdered sugar so they don’t fuse into one giant marshmallow in the box.
7. Lemon Pistachio Shortbread
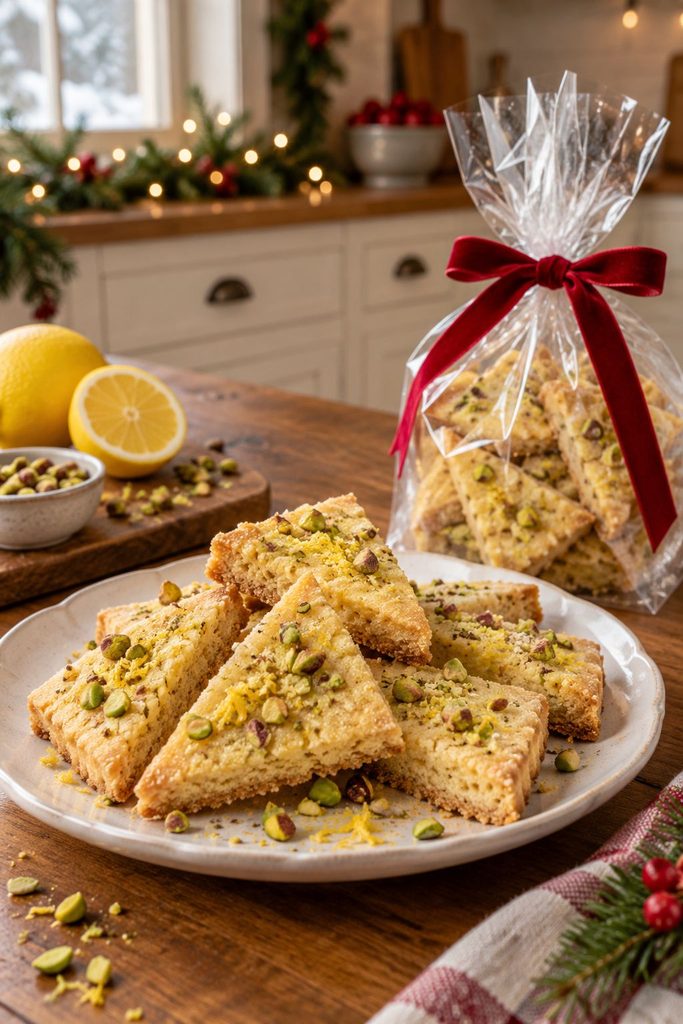
Buttery, crumbly wedges with a bright citrus zing and green pistachio flecks that look festive without trying. This is the gift for the friend who says they don’t like anything too sweet. It comes together from a handful of pantry ingredients and keeps well for a week or more.
8. Candied Orange Peels Dipped in Dark Chocolate
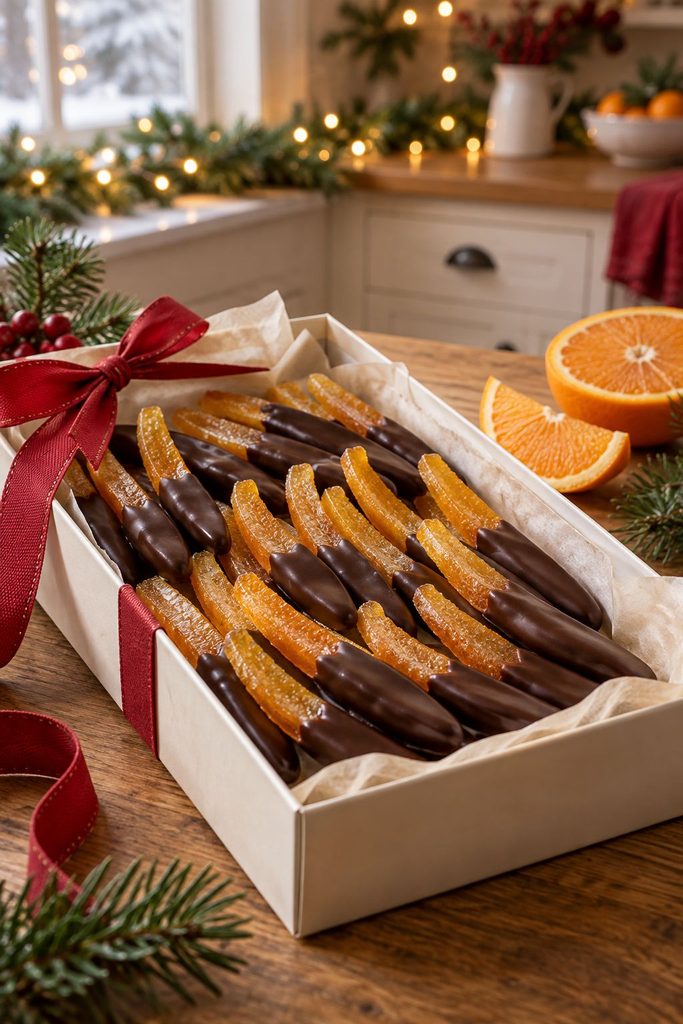
Chewy, glossy strips with a bittersweet edge, half-dunked in dark chocolate. They look elegant, they’re naturally gluten-free, and almost nobody thinks to make them, which is exactly why they get remembered. Perfect for the grown-up who skips the cookie plate.
Sips and Stir-Ins for Cozy People
9. Hot Chocolate Bombs
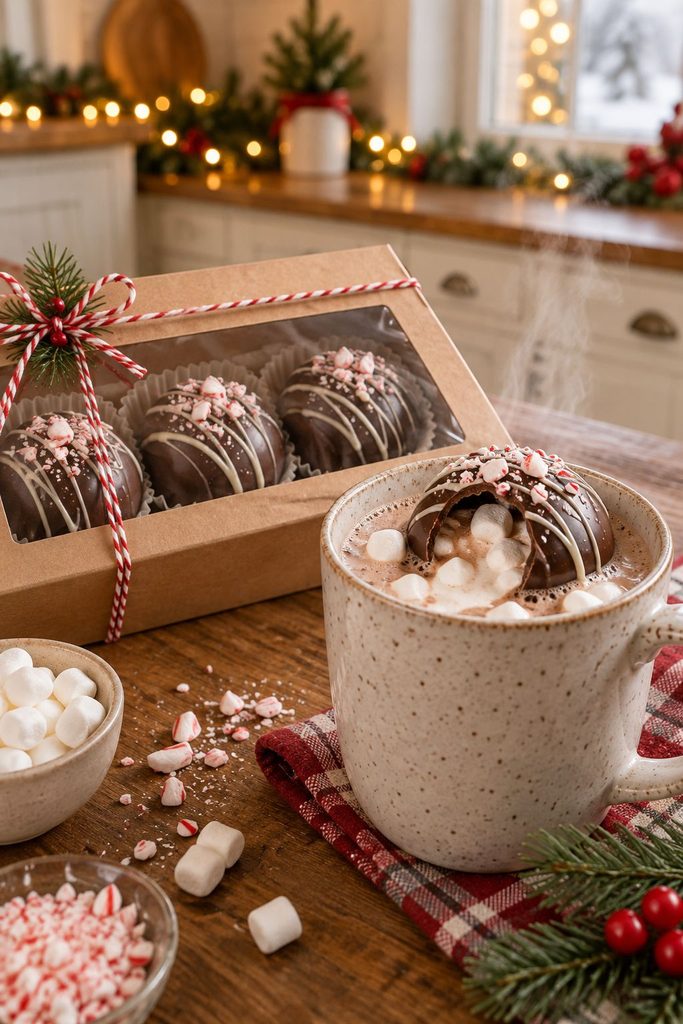
Thick chocolate spheres that crack open over hot milk and release marshmallows into a swirling, steamy show. Kids lose their minds and adults secretly do too. Short on time? Store-bought hot cocoa bombs work great too. Pack them in a clear box with a note to use a tall mug, because the melting is half the fun.
10. Mulling Spice Cider Kit

A little muslin pouch of cinnamon sticks, star anise, cloves, and dried orange slices that turns a jug of apple cider into the smell of Christmas. It costs almost nothing and works for boozy or alcohol-free sipping. Tuck in a handwritten card with directions and call it a day. More sippable ideas live in these Christmas party drinks.
11. Homemade Chai Concentrate
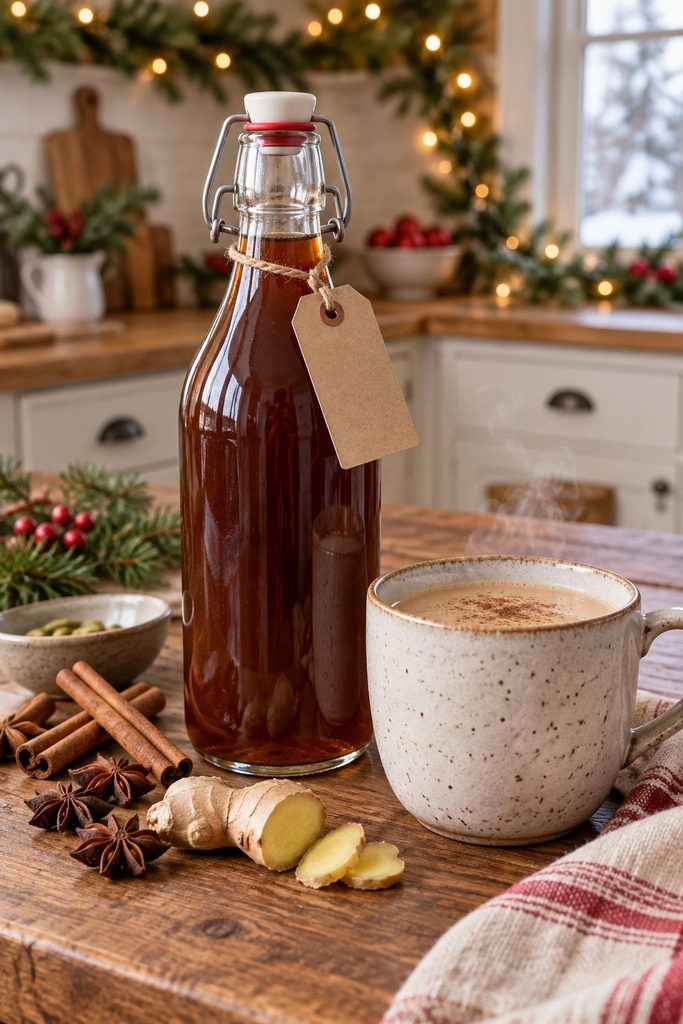
Ginger-forward and deeply spiced, this concentrate stretches into cups of hot or iced chai with just a splash of milk. Bottle it in a swing-top jar and write “keep refrigerated, use within two weeks” right on the label. It’s a gift for the person who orders a chai latte every single morning.
12. Small-Batch Coffee Beans and a Mug
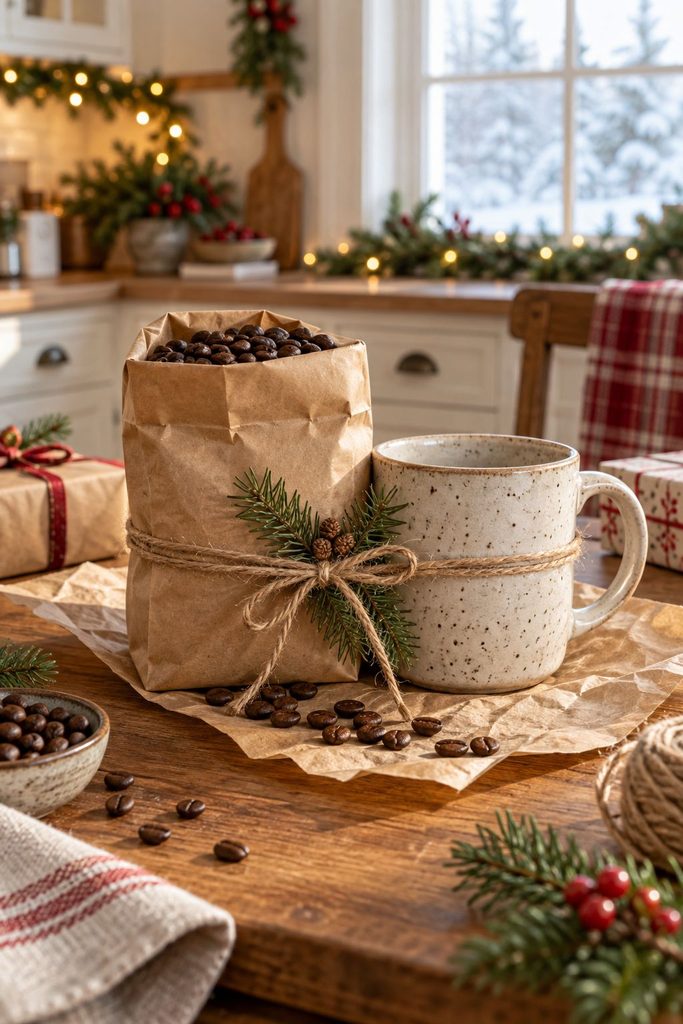
Freshly roasted beans from a local roaster, paired with a mug that has some personality. Check the roast date on the bag, because fresh beans are what turns this from generic into thoughtful. Ask the roaster which bean suits the person you’re shopping for and they’ll usually be thrilled to help.
13. Loose-Leaf Tea Sampler
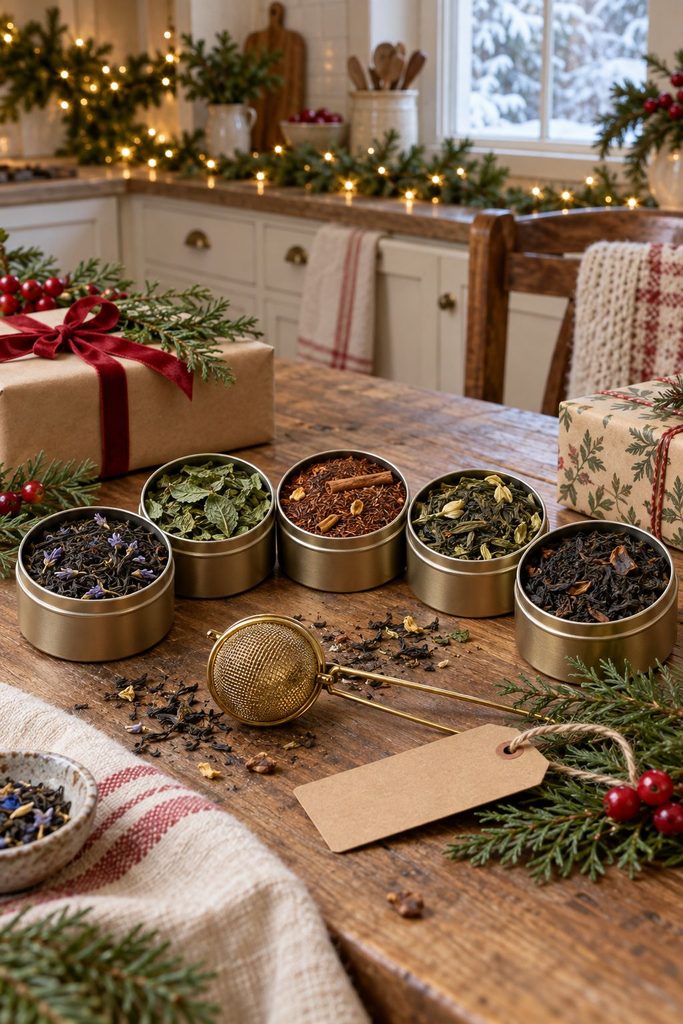
Five small tins with flavors that actually differ, such as lavender Earl Grey, peppermint, cinnamon rooibos, and a smoky lapsang. Add a tea strainer and the gift feels complete. It’s ideal for the friend who’s forever saying she wants to relax more.
Quick Guide: Which Edible Gift Fits Which Person
Stuck on who gets what? Match the gift to the giftee with this cheat sheet.
| Giftee | Try This | Effort | Cost |
|---|---|---|---|
| Coworker or neighbor | Peppermint Bark Tins (#1) | Easy | $ |
| Party host | Mulling Spice Cider Kit (#10) | Easy | $ |
| Teacher | Cookie Mix in a Jar (#22) | Easy | $ |
| Not-a-sweets person | Rosemary Spiced Nuts (#14) | Easy | $$ |
| Foodie friend | Hot Honey (#21) | Medium | $$ |
| Kids and families | Gingerbread House Kit (#32) | Easy | $$ |
| Long-distance relative | Panettone (#34) | None, just buy | $$$ |
| Someone who has everything | Cheese Board Gift Set (#30) | Easy | $$$ |
Savory Snacks for the Not-Sweet Crowd
14. Rosemary Spiced Nuts
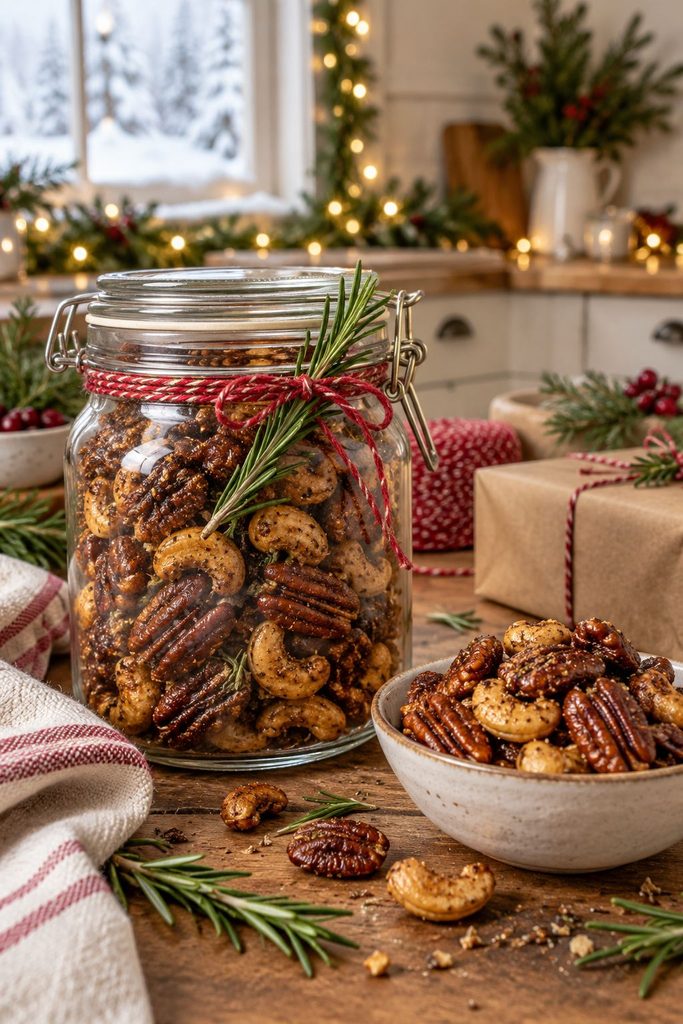
Warm-roasted pecans and cashews tossed with rosemary, brown sugar, and a sneaky kick of cayenne. They’re salty, a little sweet, and dangerously snackable. Package them in a jar with a sprig of fresh rosemary on top so it looks as good as it smells.
15. Parmesan Cheese Straws
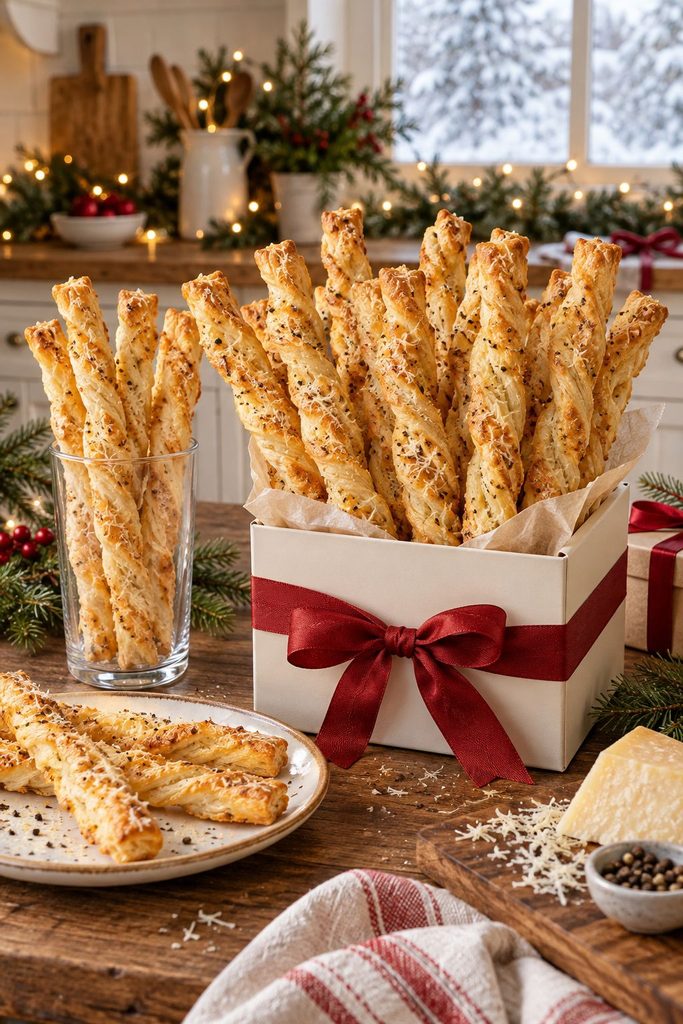
Flaky, twisty, cheesy sticks that shatter when you bite them. Puff pastry makes them almost embarrassingly easy. Pack them upright in a tall glass or sturdy box so they arrive in one piece.
16. Mini Charcuterie Box
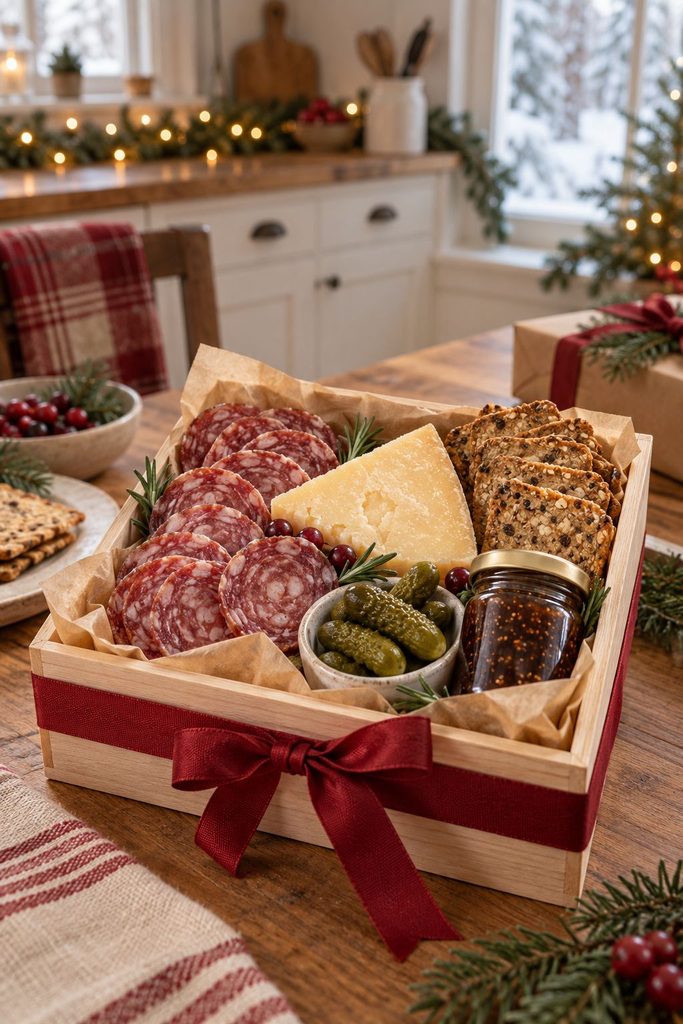
Salami, a good cheddar, seeded crackers, cornichons, and a small jar of fig jam, all tucked into a little box. No cooking required. Focus on shelf-stable picks or hand it over the same day, because nobody wants a warm cheese surprise in the mail.
17. Truffle Parmesan Popcorn Tin
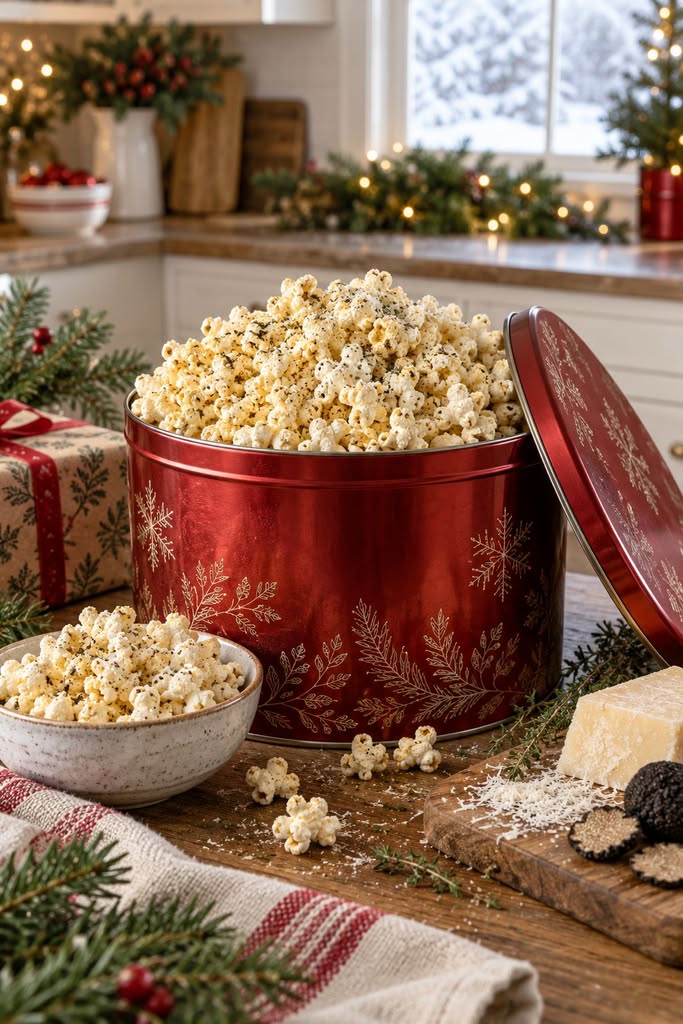
Fresh popcorn tossed in truffle oil and finely grated Parmesan, poured into a big holiday tin. It’s fancy movie-night energy in a package that costs pocket change. Toss it while the popcorn is still hot so the cheese clings to every kernel.
18. Craft Jerky Sampler
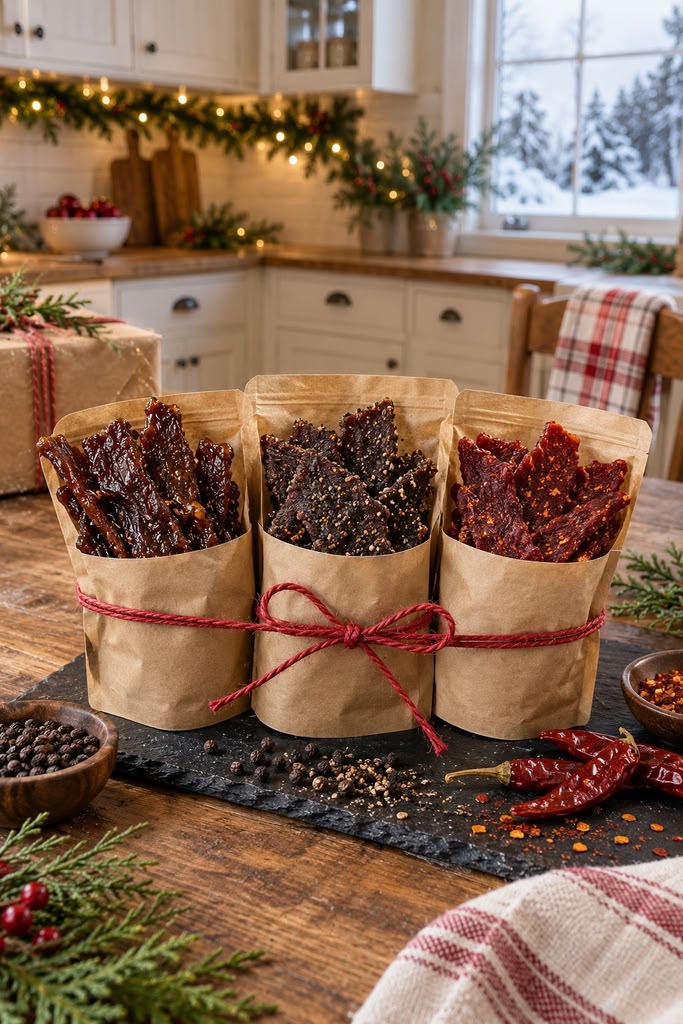
Three flavors of small-batch beef or turkey jerky, such as teriyaki, black pepper, and a spicy one. It’s protein-packed, shelf-stable, and exactly what the hiker or dad on your list didn’t know he wanted. Ask a local butcher shop what they make in-house.
19. Spicy Snack Mix
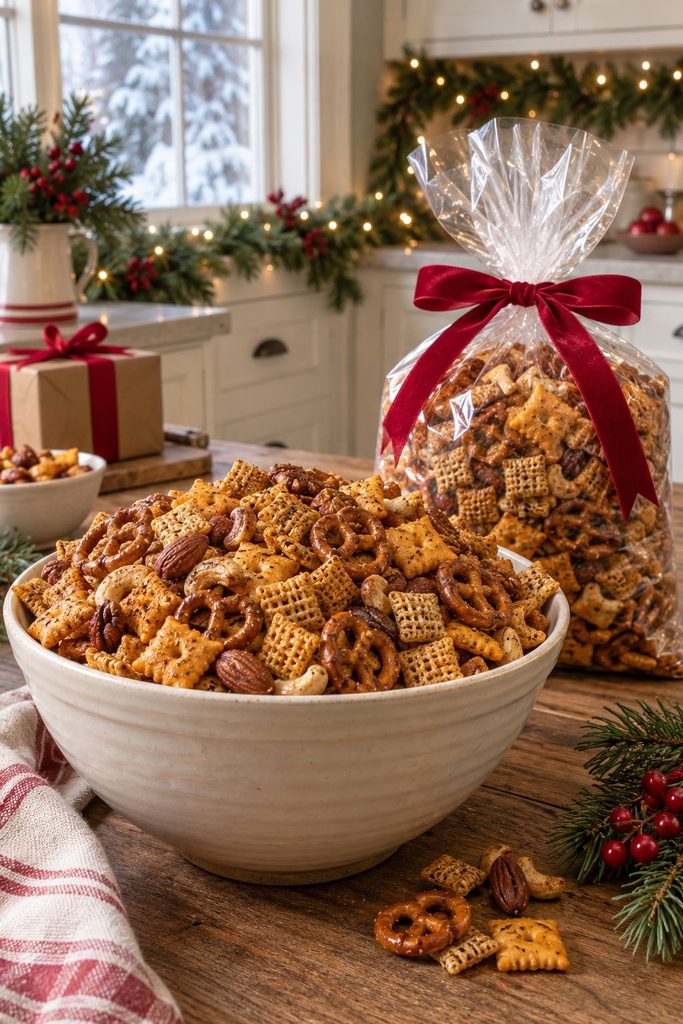
Crunchy cereal squares, pretzels, and cheddar bunnies coated in butter, Worcestershire, and a little garlic powder, then baked low and slow until deeply toasty. It’s the nostalgic bowl everyone hovers over at parties. Make a double batch, because you’ll want some for yourself. Want more flavors? Try these Christmas party snack mix ideas.
20. Marinated Olives and Feta Jar
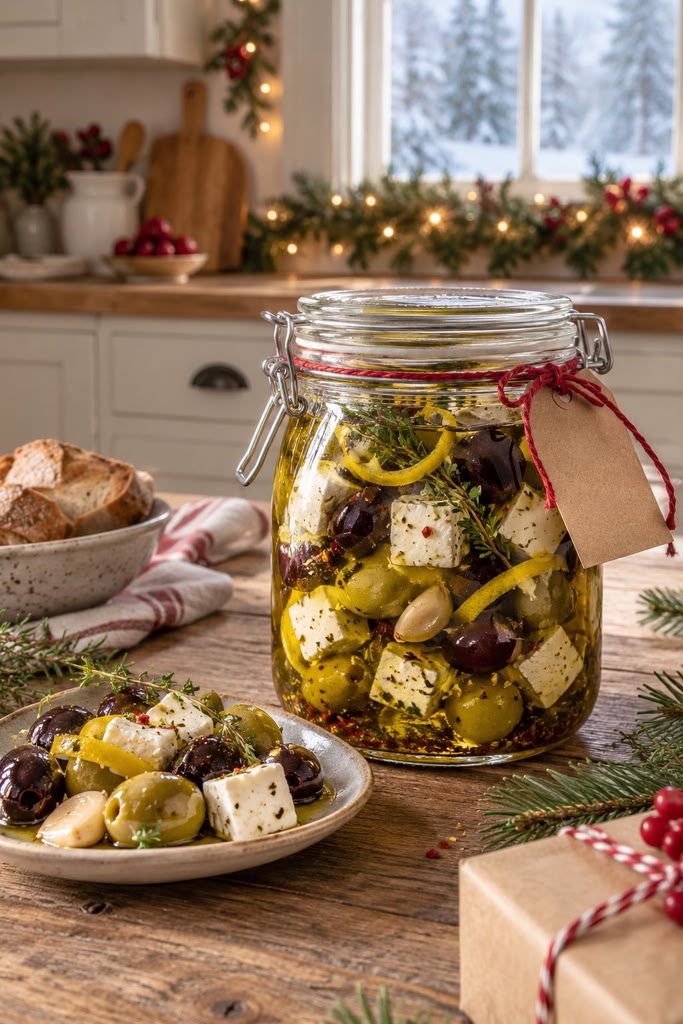
Green and black olives and cubes of feta bathed in olive oil, lemon peel, garlic, and thyme. It’s bright, briny, and takes ten minutes of prep before the fridge does the flavor work. Tell the recipient to keep it refrigerated and eat it within about two weeks.
Pantry Gifts and Jar Gifts
21. Hot Honey
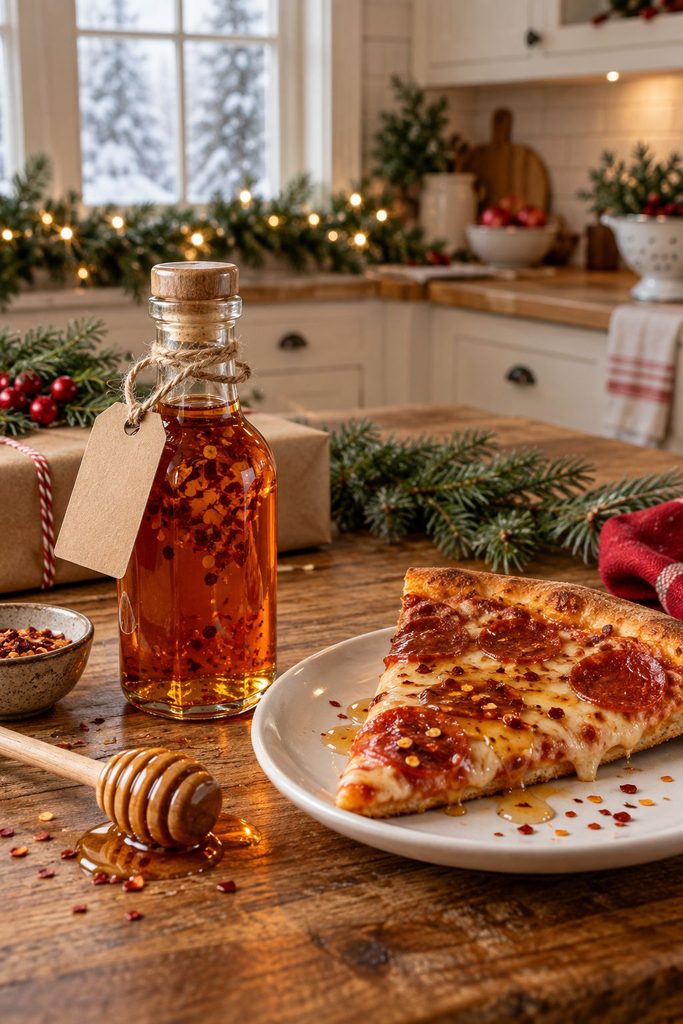
Warm honey steeped with chili flakes and a splash of vinegar, sweet up front with a slow-burning heat behind it. People pour it on pizza, fried chicken, and goat cheese and then text you about it. Bottle it, tie on a tag with serving ideas, and prepare for repeat requests.
22. Cookie Mix in a Jar
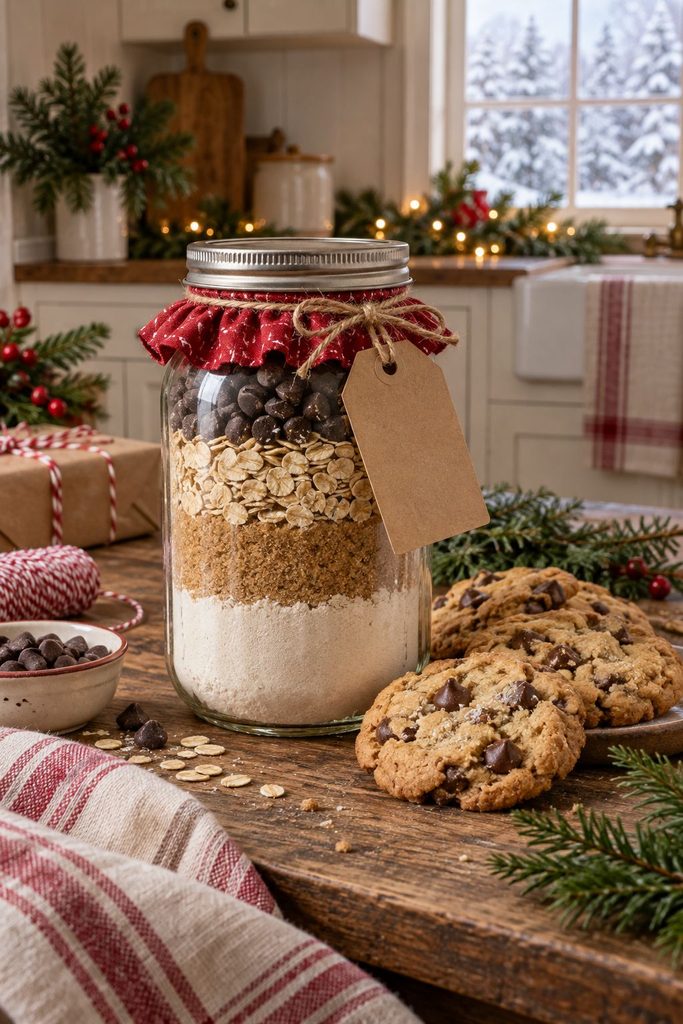
Neat layers of dry ingredients, oats, and chocolate chips packed into a mason jar with a recipe card looped around the neck. The recipient just adds butter and eggs. Layer the heaviest ingredients on the bottom and press each one down so the stripes look crisp. Need a cute way to wrap it up? Browse these Christmas treat bag ideas.
23. Homemade Vanilla Extract
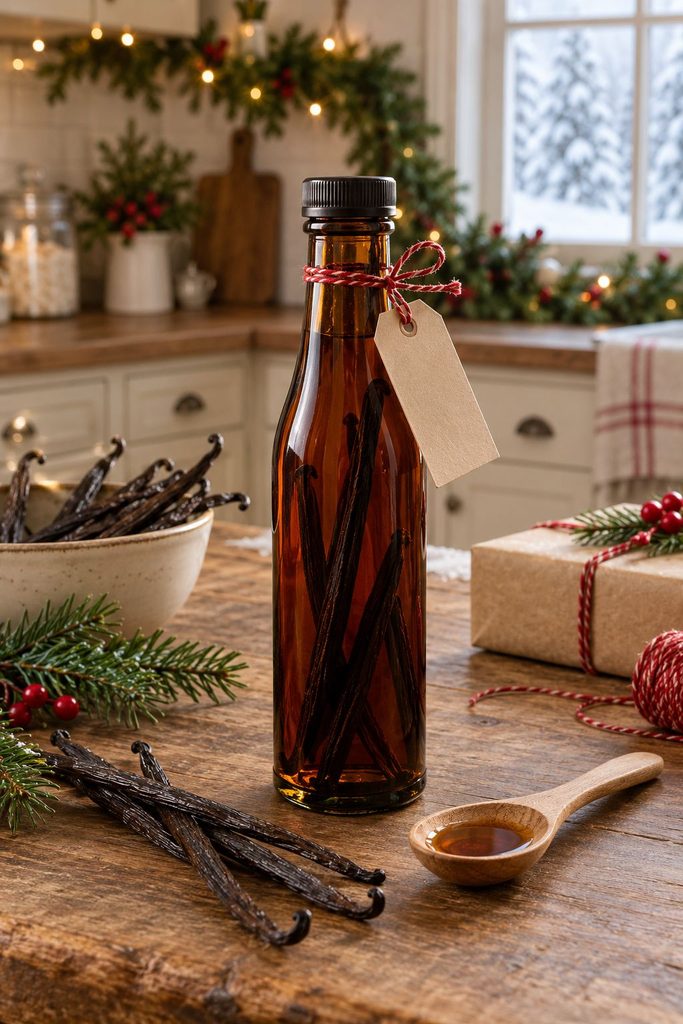
Vanilla beans steeped in vodka, then bottled with a pretty label. It’s a bakers’ dream, and the flavor is far richer than anything from the store shelf. Start this one soon, since it needs at least six weeks to steep, and eight or more is even better.
24. Flavored Finishing Salts
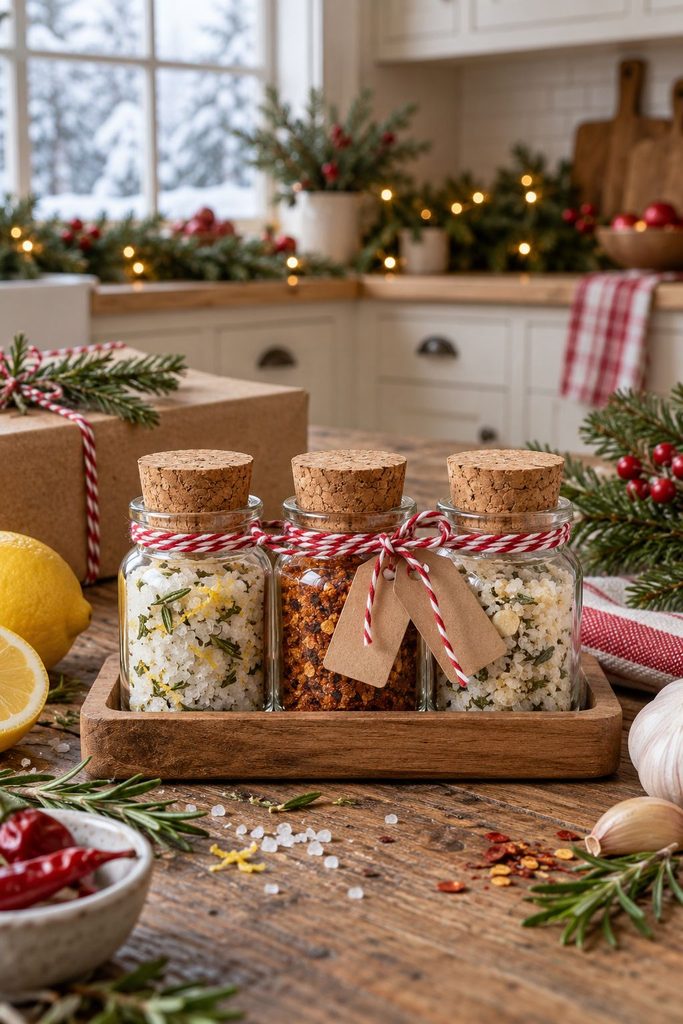
Tiny jars of flaky salt blended with rosemary and lemon zest, smoked chili and lime, or garlic and herbs. Grab a trio and you have a gift for the person who cooks a lot. It’s ridiculously cheap to make and looks like a boutique find.
25. Cranberry Orange Jam
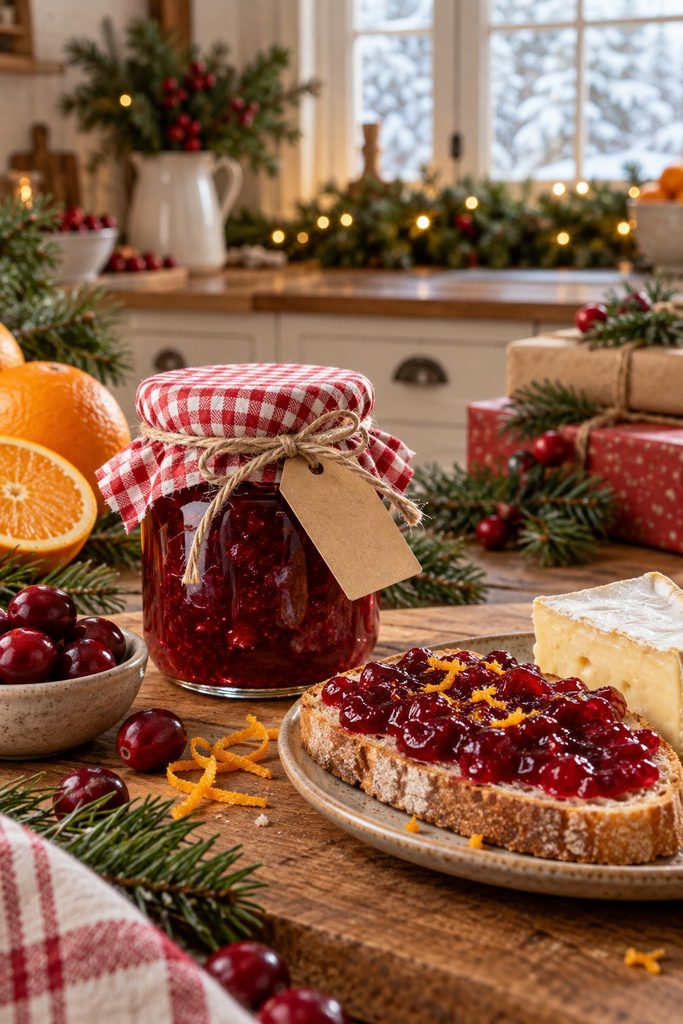
Tart cranberries simmered with orange juice and zest into a glossy, jewel-red jam. Spoon it over brie, spread it on toast, or stir it into yogurt. Skip the canning if you’re nervous, since a fridge version keeps about three weeks and needs no special equipment.
26. Infused Olive Oil and Balsamic Set
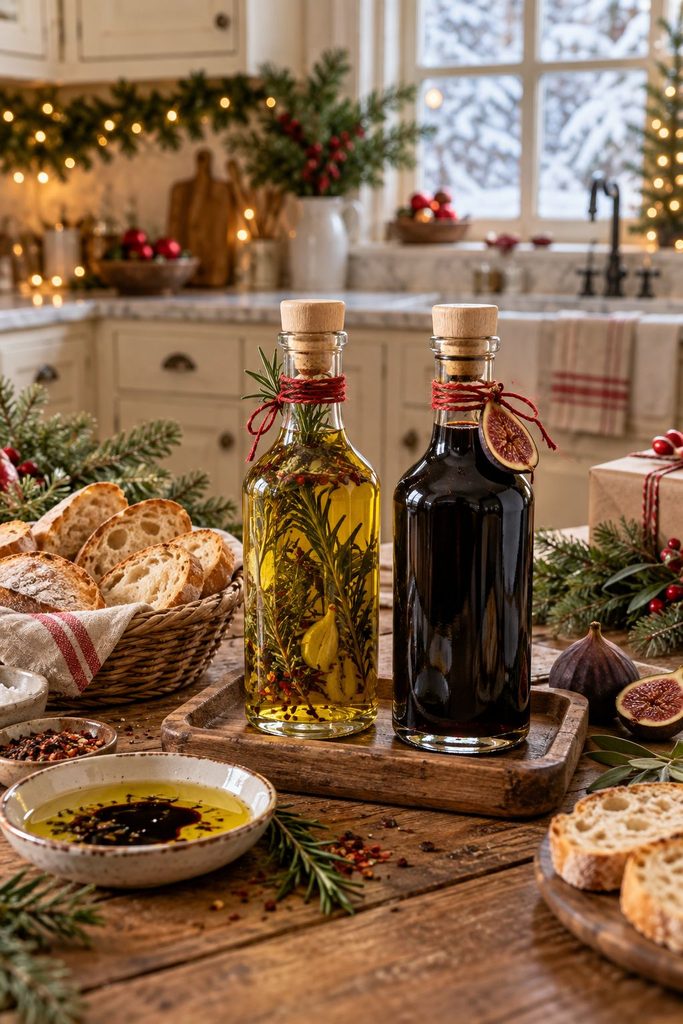
A pair of bottles that turns a plain loaf of bread into an appetizer, such as garlic olive oil and fig balsamic. Buy from a specialty shop where you can taste before you choose, which also makes for a fun outing. It’s a low-effort, high-polish pick for the friend with a well-stocked kitchen.
27. Pancake Mix and Real Maple Syrup Bundle
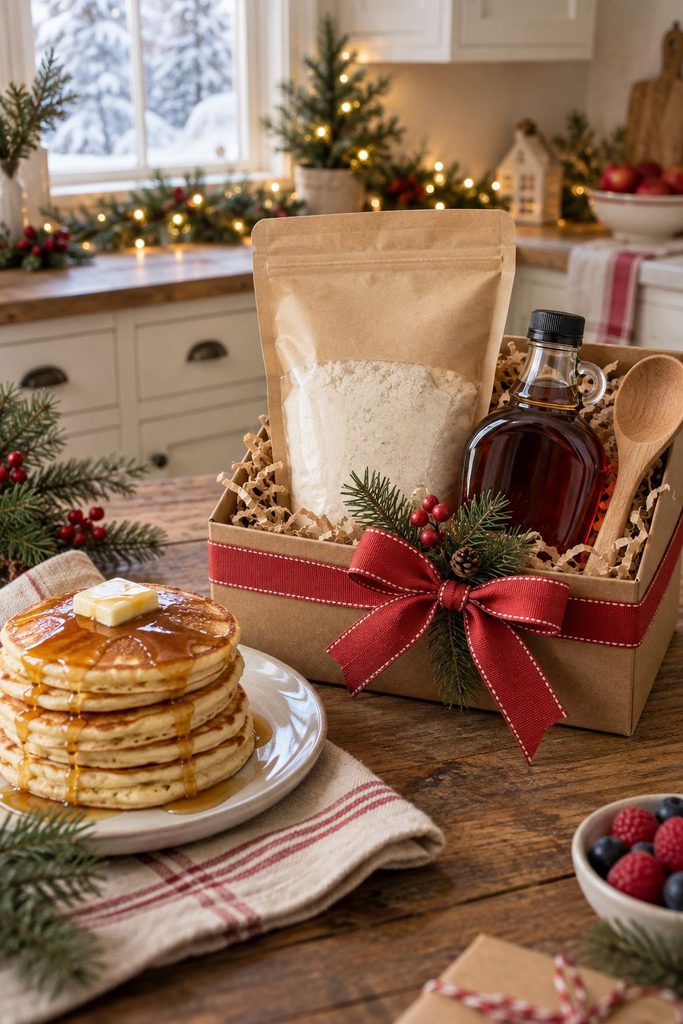
Christmas morning breakfast in a box: a quality buttermilk pancake mix, a small bottle of real maple syrup, and a wooden spoon. It’s a cozy pick for families or newlyweds. Choose dark, robust syrup if you want a flavor that stands up to a tall stack.
28. Maple Pecan Granola
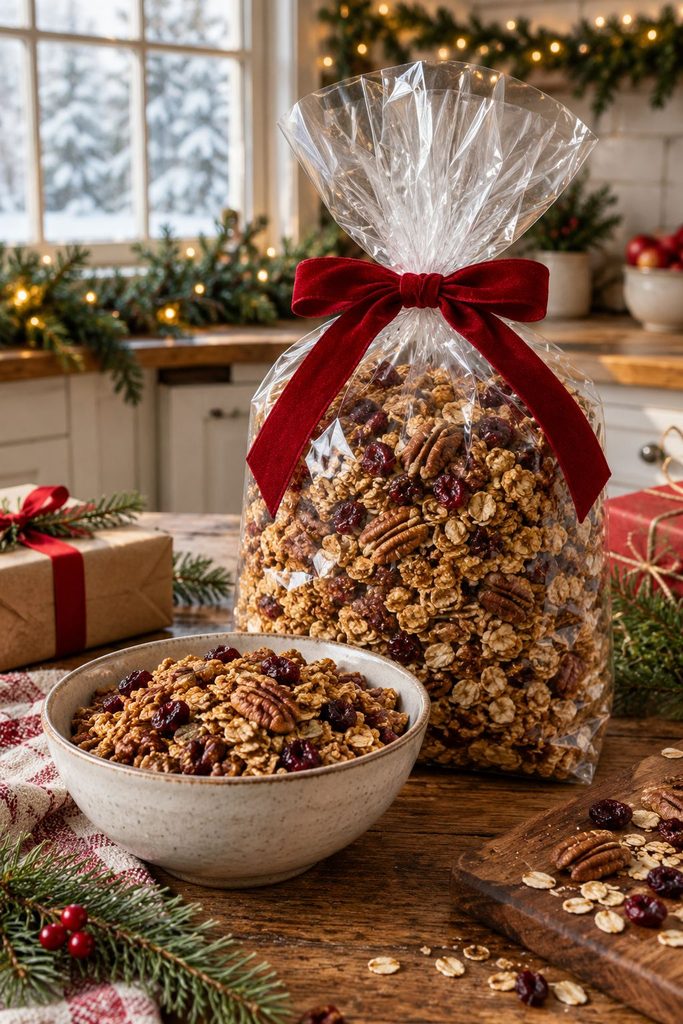
Big, golden clusters of oats and pecans bound with maple syrup and baked until deeply toasty. It smells like a bakery while it’s in the oven. Pack it in a bag or jar with a scoop of dried cranberries on top for a pop of holiday color.
What Ships Well and What Doesn’t
Mailing gifts to faraway friends? Here’s the quick version.
- Ships well: shortbread, caramels, granola, spiced nuts, jam, hot honey, coffee beans, and tea.
- Ships with care: cookies (pack them snugly), fudge (cool weather only), and snack mix.
- Hand-deliver only: marinated olives, cheese, hot chocolate bombs, and anything that needs the fridge.
Big Gestures and Splurges
29. Winter Citrus Crate
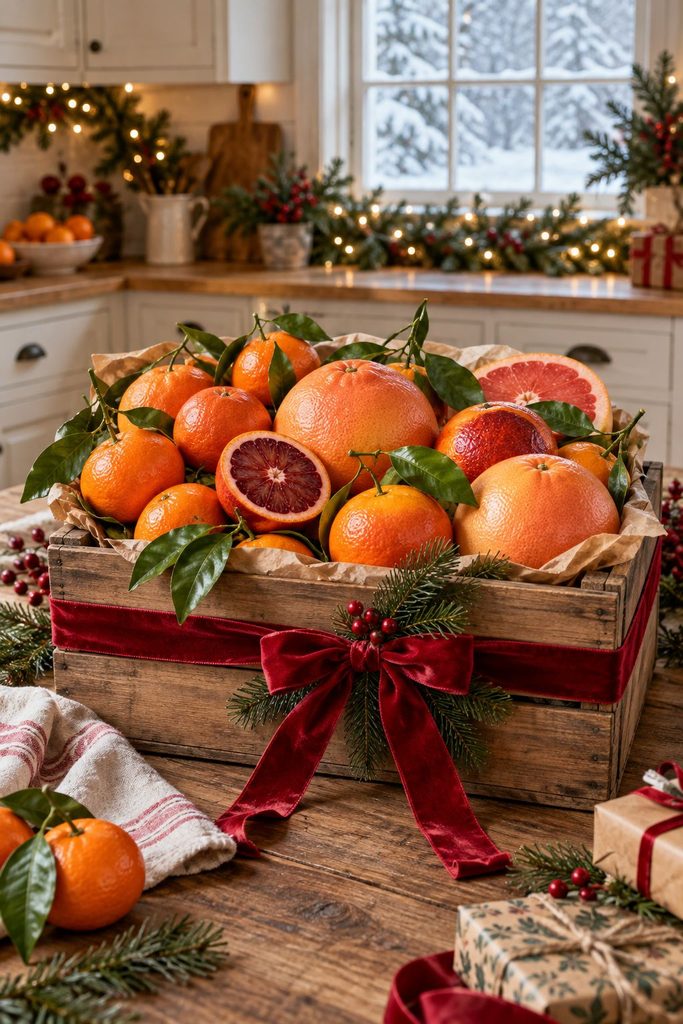
A crate of satsumas, blood oranges, and ruby grapefruit that tastes like sunshine in the middle of winter. Look for fruit with the leaves still attached because it looks incredible. It’s a gift that feels fresh and generous, and it beats another sugary box.
30. Cheese Board Gift Set
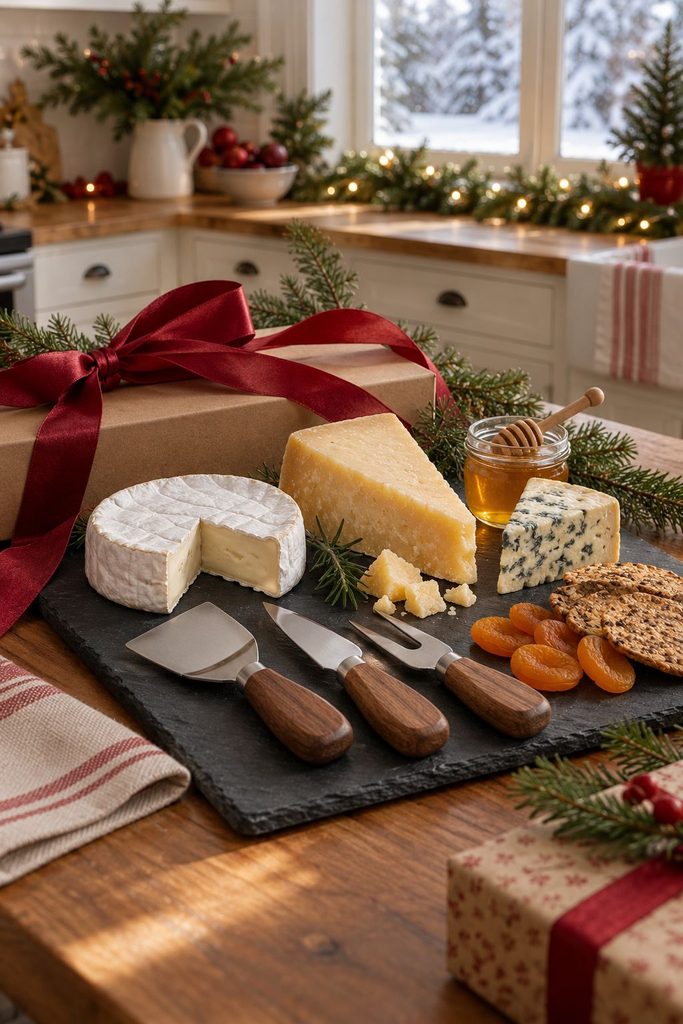
Three cheeses with different textures, such as a creamy brie, a sharp aged cheddar, and a tangy blue, plus a cheese knife set and a jar of honey. Add a slate serving board and it becomes a gift they’ll use for years. Hand-deliver it, since cheese doesn’t love the mail.
31. Kids’ Baking Kit Basket
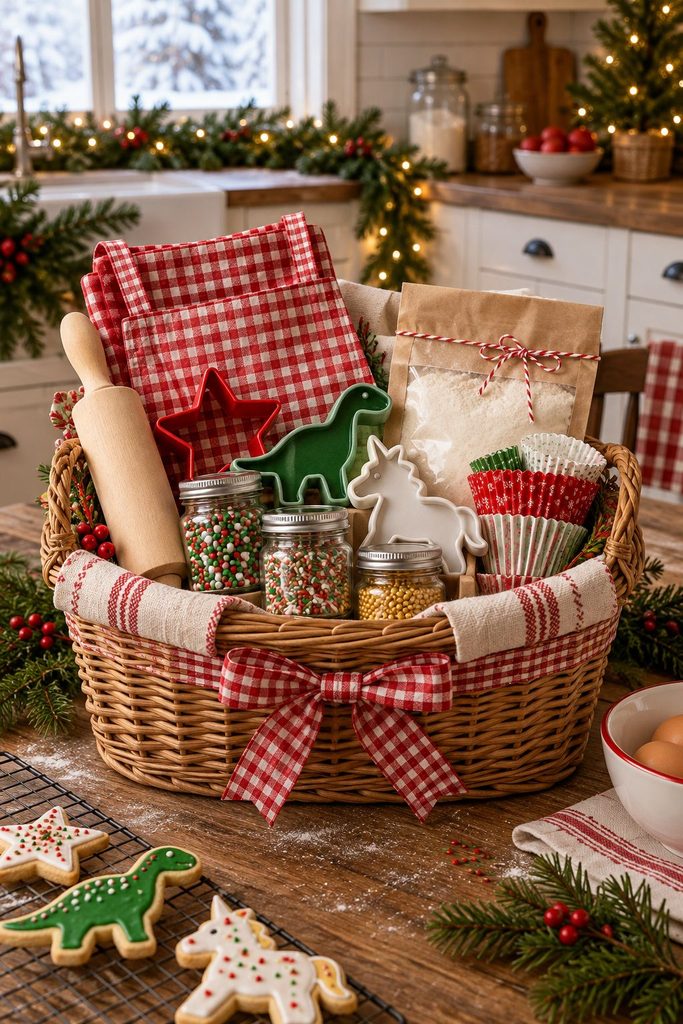
A basket with Christmas cookie cutters, holiday sprinkles, a mini rolling pin, and a pouch of mix. It’s a gift and an activity in one, and the parents will thank you (mostly). Pick shapes that match the child’s obsession, whether dinosaurs, stars, or unicorns.
32. Gingerbread House Kit
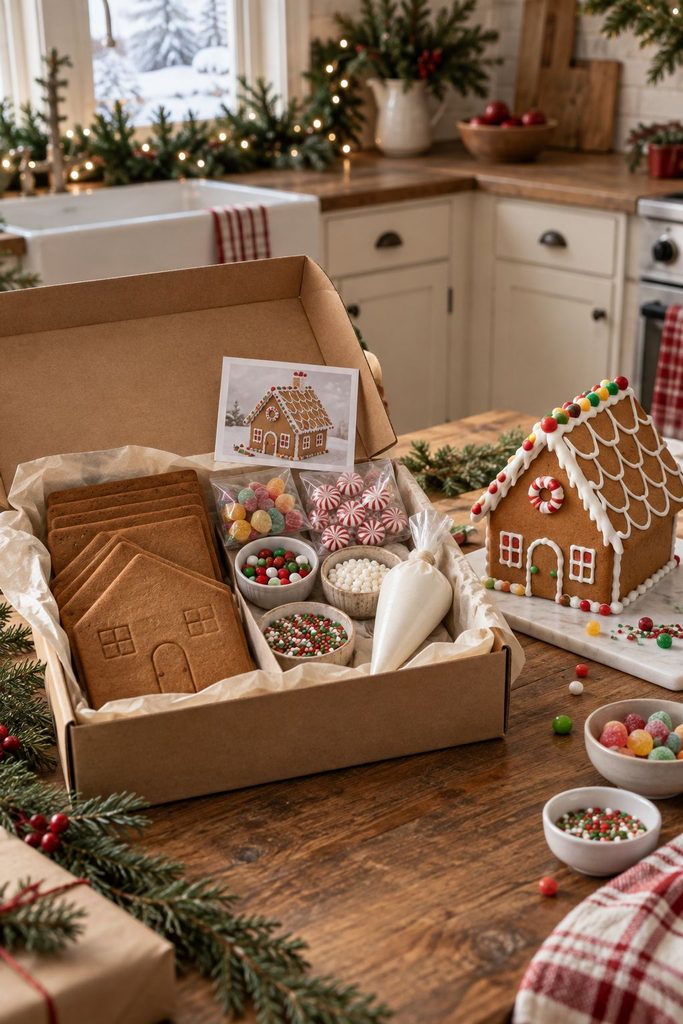
Pre-baked walls, a stack of candy, and a tube of icing glue, which is really an evening of family fun disguised as a gift. Store-bought kits work great, or bake your own panels for extra charm. Give it a week or two before Christmas so the family has time to build. Need more inspiration? Check out these gingerbread party ideas for kids.
33. Monthly Food Subscription
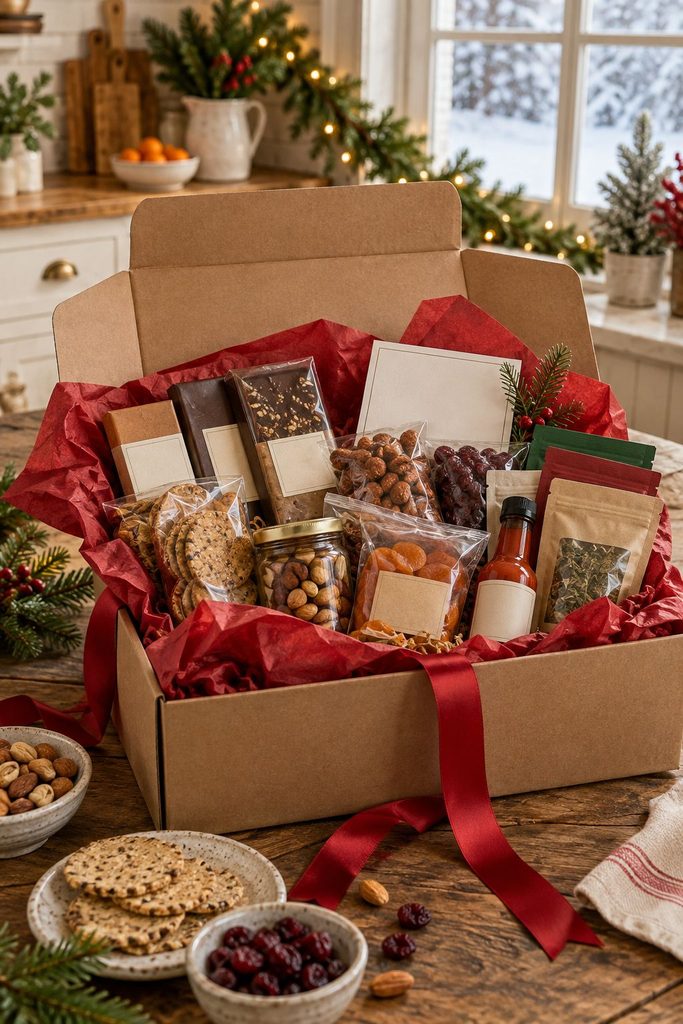
A box of snacks, hot sauce, or chocolate that shows up every month, so the gift keeps unwrapping itself all year. Wrap a printed card announcing the first delivery. It’s ideal for the person who loves trying new things.
34. Panettone from an Italian Bakery
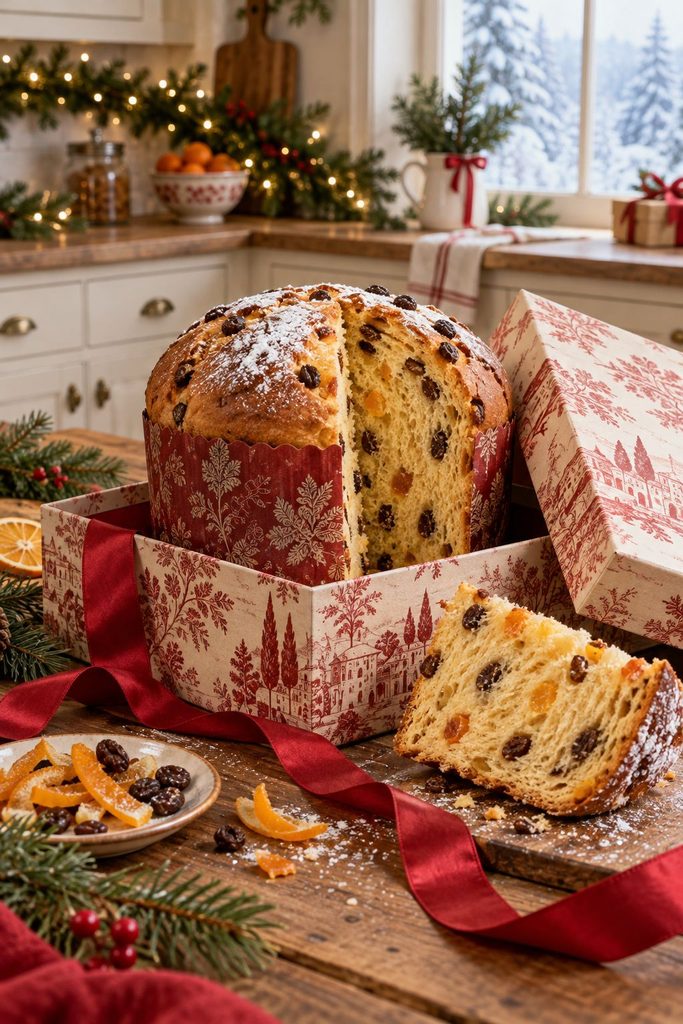
A tall, buttery, citrus-scented dome studded with candied fruit or chocolate chips that stays soft for days. Buy it from a real bakery, not the dusty supermarket version, and taste the difference. Serve it for breakfast, toast slices, or turn leftovers into unbelievable French toast.
35. Overnight Cinnamon Roll Kit
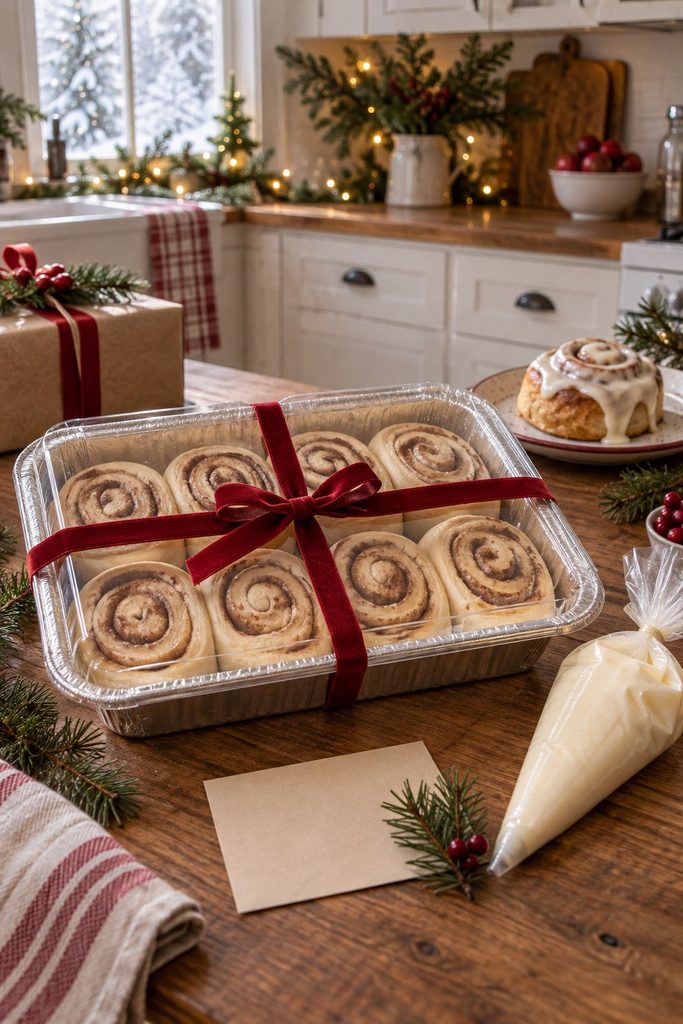
Unbaked rolls in a disposable foil pan with a lid with a little pouch of cream cheese icing, ready to bake Christmas morning. Freeze them solid and hand them over with baking directions, since the recipient can pop them in the oven the day of. It turns a chaotic morning into the smell of pure comfort.
Common Mistakes to Avoid
- Forgetting allergies: Always ask about nut, gluten, and dairy issues before you package anything, and label ingredients clearly.
- Making it too early: Soft cookies and fresh baked goods go stale fast. Save them for the last week.
- Skipping the label: Add storage and “eat by” directions to anything perishable.
- Sending fragile treats in the mail: Chocolate melts and cookies crumble, so choose sturdy items and pack them tightly.
- Overdoing the sweet: Balance your gift list with something salty or savory, because everyone gets sugared out by December 26.
Where to Find Gift Packaging
Presentation makes edible gifts feel special. Stock up on cookie tins, cellophane treat bags, small mason jars, and kraft gift tags with twine before the holiday rush picks the shelves clean.
Frequently Asked Questions
What are the best edible Christmas gifts for coworkers?
Easy, crowd-pleasing options like peppermint bark, shortbread, or spiced nuts are perfect because they’re inexpensive and appeal to almost everyone. Package them in small individual bags so they’re easy to hand out.
How far ahead can I make edible Christmas gifts?
It depends on the treat. Vanilla extract needs weeks, while fudge and shortbread keep for one to two weeks. Cookies and anything perishable are best made within a few days of gifting.
What’s a good edible gift for someone with dietary restrictions?
Candied orange peel dipped in dark chocolate, rosemary spiced nuts, and citrus crates are naturally gluten-free options. Always double-check labels and ask about allergies first.
How do I mail food gifts safely?
Choose shelf-stable items, pack them snugly in a sturdy box, and ship early in the week so they don’t sit in a warehouse. For general guidance, see USDA holiday food safety tips for mailed food.
What are cheap edible Christmas gifts?
Jar gifts, flavored salts, snack mix, and popcorn tins are all easy on the wallet and look great when packaged nicely. Most can be made for just a few dollars each.




3 Comments