
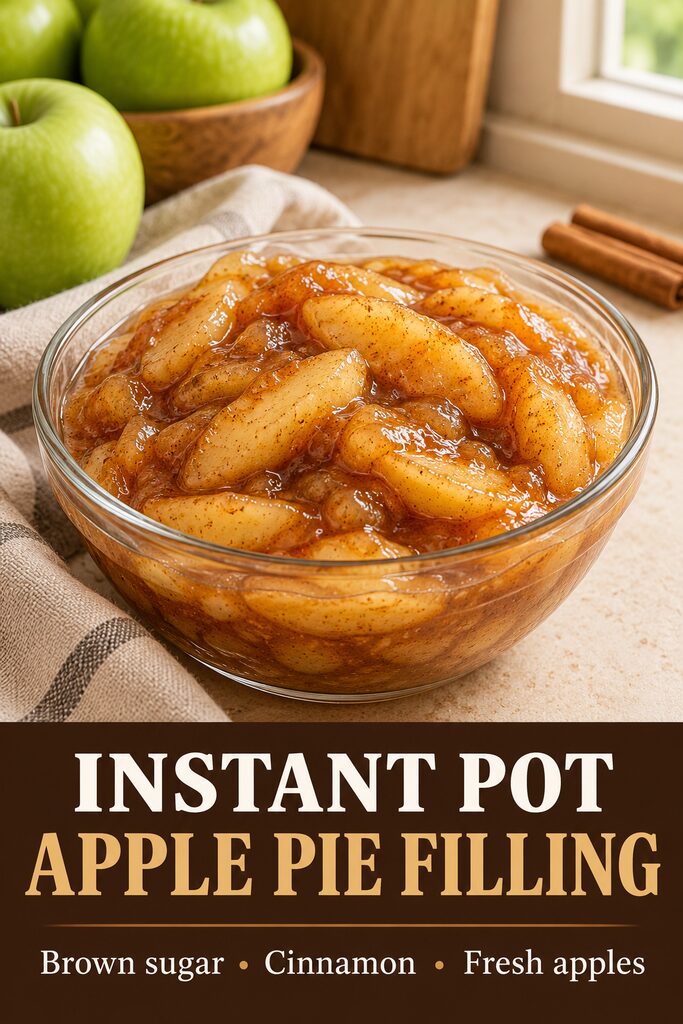
Instant Pot Apple Pie Filling
One day, the little feet that come running into the kitchen will be bigger. The chairs around the table will fill a little less often, and the afternoons that once felt so ordinary will be the ones we wish we could have back.
But right now, there are apples to peel, cinnamon to sprinkle, and someone nearby hoping for a taste. There is still time to make the house smell like something good is waiting. Sometimes, that is how a memory begins—with a warm spoonful, a sticky bowl, and a few quiet minutes together.
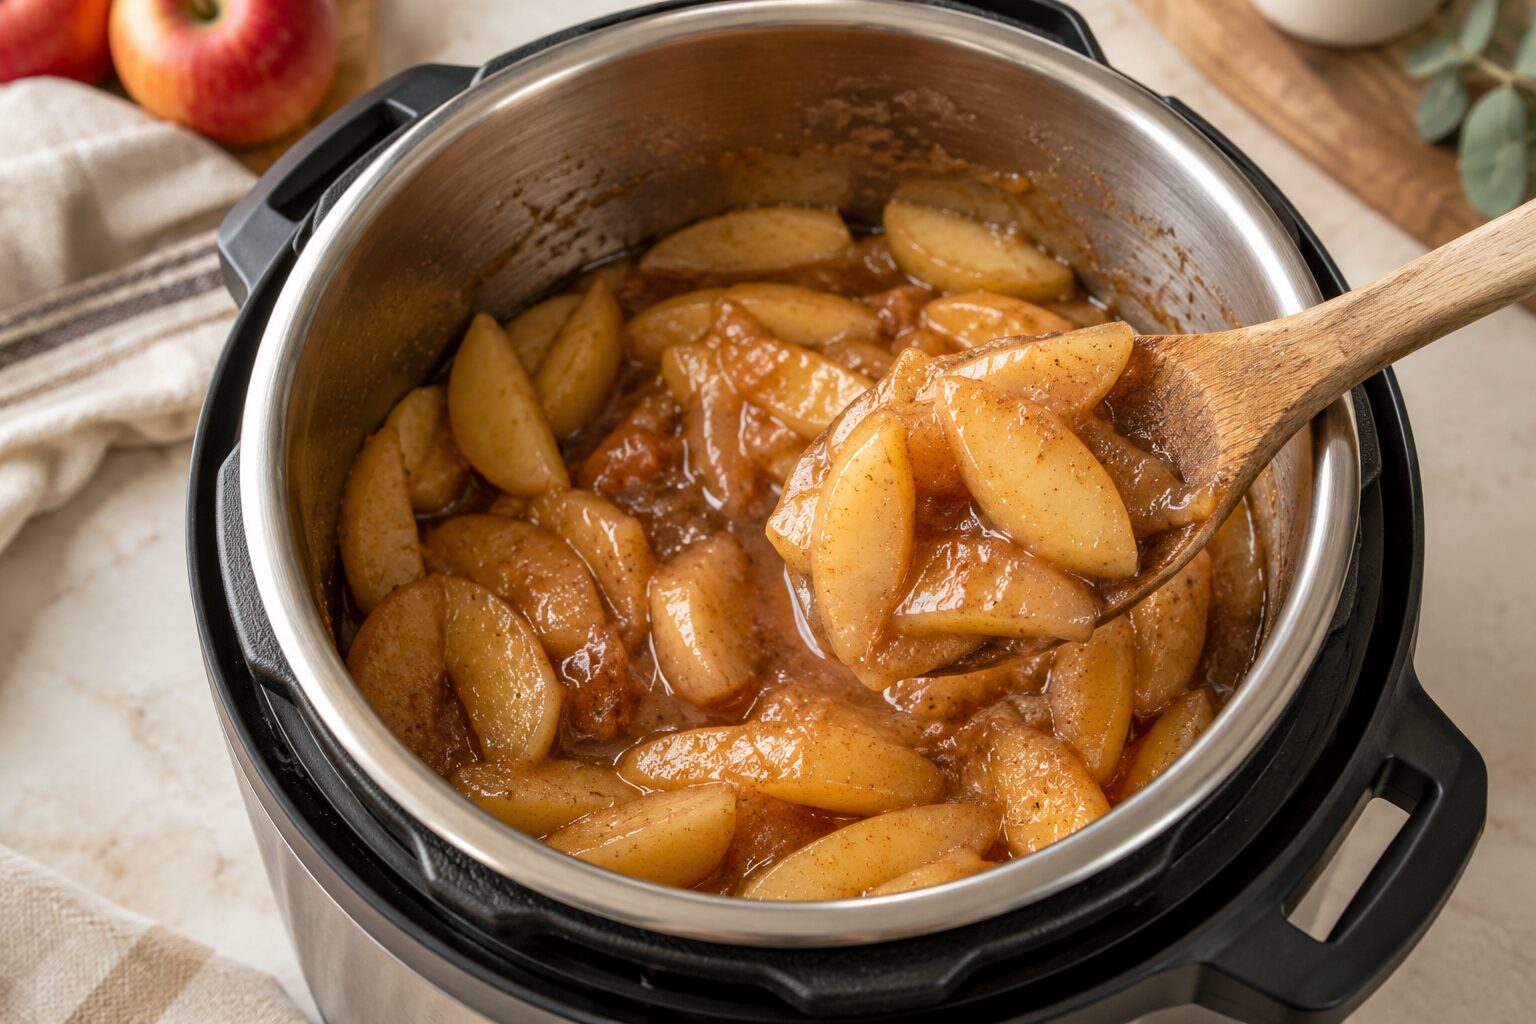
This Instant Pot apple pie filling brings that cozy feeling to the kitchen with tender apple slices, brown sugar, and a glossy cinnamon sauce. Spoon it into a pie, tuck it into turnovers, or serve it warm over vanilla ice cream. You don’t need a special occasion to make something worth gathering around.
This post may contain affiliate links which helps me keep this blog alive, questions? View the privacy policy.
Why You’ll Love This Recipe
- Simple ingredients, including fresh apples and pantry spices.
- A short pressure cycle, followed by a quick simmer to thicken the sauce.
- Useful for pies, pastries, breakfast toppings, and easy desserts.
- Make it ahead and keep it in the refrigerator or freezer.
Recipe at a Glance
Yield: Approximately 4–5 cups, depending on the apples and how much the sauce reduces. Generally enough for a standard 9-inch pie; deep-dish pies need more.
Prep time: 15 minutes
Pressure setting: 0 minutes on High
Additional time: Approximately 10–15 minutes to reach pressure, plus pressure release and 2–3 minutes to thicken
Total time: Approximately 30–40 minutes, excluding cooling
Equipment: A 6-quart Instant Pot with a 0-minute pressure setting, peeler, knife, and small bowl. Check your model’s minimum liquid requirement; the recipe uses 1½ cups water.
Ingredients
- 6 cups peeled, cored apples, sliced about ½ inch thick (roughly 6–8 medium apples; measure after slicing)
- 1 tablespoon lemon juice
- 1½ cups water
- ½ cup packed light brown sugar
- ¼ cup granulated sugar
- 1½ teaspoons ground cinnamon
- ¼ teaspoon ground nutmeg
- ¼ teaspoon salt
- 3 tablespoons cornstarch
- 3 tablespoons cold water, for the slurry
- 1 tablespoon unsalted butter
- 1 teaspoon vanilla extract
Which Apples Work Best?
Granny Smith apples are a good starting point because their tartness balances the sweet sauce and they hold their shape well. Honeycrisp apples also work, or use a mixture of the two. Very soft apples can break down during pressure cooking, so save those for applesauce if you want distinct slices in your filling.
How to Make Instant Pot Apple Pie Filling
1. Prepare the apples
Peel and core the apples, then cut them into even slices about ½ inch thick. Toss with the lemon juice. Avoid paper-thin slices, which can soften too much while the pot builds pressure.
2. Add the ingredients to the pot
Pour the 1½ cups water into the inner pot. Stir in the brown sugar, granulated sugar, cinnamon, nutmeg, and salt. Add the apples and gently stir to coat. Keep the cornstarch, butter, and vanilla aside for later.
3. Pressure cook for 0 minutes
Secure the lid and set the valve as directed by your model. Select High Pressure for 0 minutes. The apples cook as the pot heats and builds pressure; a 0-minute setting ends the pressure cycle as soon as it reaches pressure.
When the cycle ends, turn off Keep Warm and promptly release the pressure according to your appliance instructions. Keep your face and hands away from the steam. If liquid sputters from the valve, stop venting briefly and resume carefully as your manual directs. Open the lid only after the pressure indicator drops.
If your model cannot set 0 minutes: A 1-minute cycle with immediate release will give softer apples. For more control over the texture, use the stovetop method below.
4. Thicken the sauce
Whisk the cornstarch and 3 tablespoons cold water together until smooth. Select Sauté on Low, if available. Gently stir the slurry into the hot apples, then bring the sauce to a gentle bubble. Cook for about 1–3 minutes, stirring carefully, until glossy and thickened. Avoid vigorous stirring that breaks the slices.
5. Finish and cool
Turn off the pot and stir in the butter and vanilla. Transfer the filling out of the hot inner pot to stop further cooking. The sauce thickens more as it cools. Cool completely before filling an unbaked pie crust or pastry.
Tips for Tender Apples and a Thick Sauce
- Use even slices. Similar thickness helps the apples cook evenly.
- Add the thickener afterward. Cornstarch goes in after pressure cooking, when you can control the sauce’s thickness.
- Check the texture before simmering. If the apples are already very soft, lift them out with a slotted spoon, thicken the liquid separately, then gently fold them back in.
- Adjust after cooling slightly. If the sauce is too thick, stir in water a tablespoon at a time. If it is too thin, simmer briefly; for more thickening, add a slurry of 1 teaspoon cornstarch and 1 teaspoon cold water, then bring back to a gentle bubble.
Ways to Use Apple Pie Filling
Spoon it over pancakes, waffles, oatmeal, or vanilla ice cream. Use it in apple turnovers, hand pies, or a crisp with a buttery oat topping. It also makes a simple dessert dip with cinnamon-sugar pie crust pieces.
For a traditional apple pie, cool the filling completely and follow a pie recipe designed for precooked filling. The crust still needs to bake through even though the apples are already cooked. If your filling has more sauce than you want, use a slotted spoon to portion the apples and add sauce as needed.
Storage and Freezing
Divide the filling into shallow containers and refrigerate promptly, within 2 hours of cooking. Keep covered in the refrigerator and use within 4 days.
For longer storage, freeze cooled filling in freezer-safe containers, leaving room for expansion. Use within 3 months for best quality. Thaw overnight in the refrigerator; the sauce may loosen slightly, so gently reheat and stir before serving.
This recipe is intended for refrigeration or freezing. It is not a shelf-stable canning recipe.
Frequently Asked Questions
Why does the recipe say 0 minutes?
The apples cook while the Instant Pot heats and reaches pressure. Ending the cycle immediately helps prevent them from turning into applesauce, although texture still varies with apple variety, slice thickness, and your appliance.
Can I use apple juice instead of water?
Yes, substitute the same amount of apple juice for the cooking water. The filling will be sweeter, so you may want to reduce the granulated sugar.
Can I make it without an Instant Pot?
Yes. Combine the apples, lemon juice, cooking water, sugars, spices, and salt in a large saucepan. Bring to a gentle simmer and cook, stirring occasionally, until the slices are just tender, about 10–15 minutes. Add the cornstarch slurry, simmer until thickened, then finish with butter and vanilla.
Can I double the recipe?
Make separate batches in a 6-quart pot. A larger batch takes longer to reach pressure and may change the apple texture. Always follow your appliance’s fill limits.
A Little Comfort, Ready to Share
Some days, dessert is just a scoop of ice cream with warm apples on top. The dishes can wait a few minutes. Pull up a chair, pass the bowls, and let this be one of those small, ordinary moments that feels like home.




One Comment