

How to Melt Chocolate Without Burning It
There’s nothing quite as defeating as watching a bowl of chocolate go from glossy perfection to a dull, grainy clump in seconds. It happens fast, and it happens to everyone—but it doesn’t have to. Learning how to melt chocolate without burning it is all about gentle heat, the right tools, and a little patience.
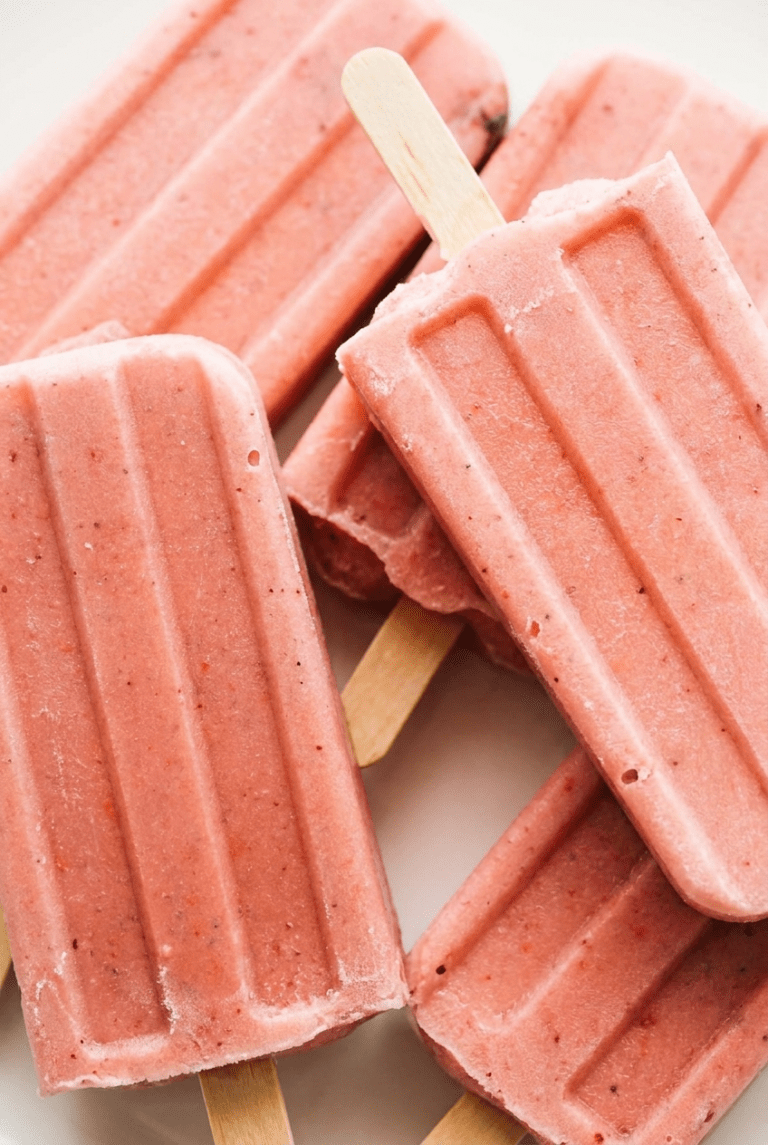
Whether you melt it on the stovetop, in the microwave, or with a low-oven technique, this guide breaks everything down simply—plus the tools that make the process easier. With these methods, your chocolate melts smooth every time—and your next batch of dessert bars from Berry Whisk will thank you for it.
This post may contain affiliate links which helps me keep this blog alive, questions? View the privacy policy.
Why Chocolate Burns So Easily (And How to Prevent It)

Chocolate looks sturdy in bar form, but once heat enters the equation, it becomes surprisingly delicate. The cocoa butter inside melts at a low temperature, which means even a little too much heat can scorch it. Moisture creates problems too—one drop of water is enough to turn smooth chocolate thick and grainy. Understanding these quirks is the foundation of learning how to melt chocolate without burning it, no matter which method you choose.
Common reasons chocolate burns:
- Direct heat that’s too strong
- Steam sneaking into the bowl
- Cooking vessels that aren’t completely dry
- Using large chunks that melt unevenly
Once you know what causes burning, you can melt chocolate confidently for fudge (like the recipes on AllRecipes), drizzles, bars, and every chocolate dessert heading into your rotation.
The Best Methods for Melting Chocolate Without Burning It

There are three reliable ways to get perfectly melted chocolate at home: the double boiler, the microwave, and the low-oven method. Each one works beautifully when you keep the heat gentle and stay patient. These approaches make it easy to control temperature, avoid scorching, and create that smooth, glossy finish every baker wants. No matter which method you choose, your chocolate stays silky—and your desserts turn out richer, shinier, and more impressive.
Method 1: Double Boiler
This is the most foolproof technique and one many bakers rely on. It uses indirect heat, which gives you full control and keeps the chocolate from getting too hot too fast. If you’re serious about mastering how to melt chocolate without burning it, this method deserves a spot in your kitchen routine.
- Bring 1–2 inches of water to a gentle simmer in a saucepan.
- Set a heat-safe bowl on top—without letting it touch the water.
- Add finely chopped chocolate to the bowl.
- Stir gently as it melts, keeping the heat low and steady.
- Remove from the heat when the chocolate is about 80% melted and finish stirring off heat.
The double boiler is especially helpful when melting chocolate for brownies from Food Network or silky drizzles for treats like the bars on Berry Whisk. A few simple tools make the process smoother too—this saucepan, a glass mixing bowl, and a flexible silicone spatula stay reliable every time.
Method 2: Microwave
This method is fast, convenient, and works beautifully when done with care. The key is low power and short bursts. Skip those tempting full-power cycles—they’re the quickest path to scorching.
- Place chopped chocolate in a microwave-safe bowl.
- Heat at 50% power for 20–30 seconds.
- Stir thoroughly between each interval.
- Stop when the chocolate is almost melted; the residual heat will smooth it out.
This method is perfect for quick jobs like microwave fudge from AllRecipes or desserts like the smooth treats found at Berry Whisk.
Method 3: Low-Oven Method
The low-oven method is ideal when you want something hands-off and reliable. It melts chocolate gently without the risk of direct heat—and without hovering over the stove.
- Set your oven to 150–170°F.
- Add chopped chocolate to an oven-safe bowl.
- Warm for 5–10 minutes, stirring halfway through.
- Continue heating until nearly melted, then finish stirring on the counter.
This method is a quiet hero for melting chocolate destined for dessert drizzles, nut clusters, and other slow-melt creations. For more ideas, explore recipes like the rich treats on Berry Whisk or browse inspiration from Taste of Home when planning your next dessert lineup.
What Type of Chocolate Melts Best?

Not all chocolate behaves the same once heat enters the picture. Cocoa percentages, sugar levels, and added stabilizers all change how smoothly and evenly chocolate melts. When you’re learning how to melt chocolate without burning it, choosing the right chocolate is half the battle. Some varieties glide into a silky pool with ease; others require extra patience and attention.
Dark Chocolate: With higher cocoa butter and lower sugar than other varieties, dark chocolate melts smoothly and resists scorching better than most. It’s an excellent choice for drizzles, ganache, and rich brownies.
Semi-Sweet Chocolate: This balanced option melts beautifully and works for just about everything—from dessert bars to fudge. It’s a go-to for many bakers because it handles heat well and delivers a classic chocolate flavor.
Milk Chocolate: Milk chocolate contains more sugar and dairy ingredients, which lower the melting point and make it more sensitive to heat. It’s delicious but needs a gentle touch.
White Chocolate: Technically not chocolate, but definitely meltable. High sugar and low cocoa butter mean it burns faster than any other type. Use low heat and patience to keep it smooth.
For consistent results, bakers often reach for melting wafers or couverture chocolate. Options like Ghirardelli melting wafers, Callebaut couverture, or classic Baker’s chocolate melt evenly and reliably, making them ideal choices for beginners and seasoned bakers alike.
Tools That Help Chocolate Melt Smoothly

Melting chocolate becomes dramatically easier when you have the right tools on hand. None of them are fancy, and most are items you already own—but using the correct materials ensures even heating, prevents scorching, and keeps moisture away. When you’re focused on how to melt chocolate without burning it, these tools turn a stressful task into something wonderfully simple.
- Sturdy Saucepan: A reliable, heavy-bottomed saucepan keeps heat steady and prevents sudden temperature spikes. A classic like this stainless steel option works beautifully.
- Heat-Safe Mixing Bowl: Glass or stainless steel bowls are ideal because they warm gently and evenly. A dependable glass mixing bowl set stays stable over simmering water.
- Silicone Spatula: Flexible, heat-resistant, and smooth—everything chocolate needs. A simple silicone spatula helps you stir without scraping or overheating.
- Microwave-Safe Bowls: If you’re a microwave-melter, choose bowls that heat slowly and evenly, such as tempered glass dishes.
- Chocolate Thermometer (Optional): If you tend to overheat chocolate, a thermometer gives you instant control. A precision thermometer helps you stay within the sweet spot.
For bakers who melt chocolate regularly, a dedicated chocolate warmer or bain-marie insert can make the process even easier. While not essential, they keep temperatures stable and hands free—useful for dips, drips, and batches of treats like fudge or truffles featured on Berry Whisk.
How to Fix Chocolate If It Burns, Seizes, or Splits
Even with care, chocolate sometimes misbehaves. A little steam sneaks in, the microwave runs a few seconds too long, or the bowl gets too hot. Knowing how to troubleshoot these issues gives you a much better chance at saving your batch—and helps reinforce the steps that make melting smoother next time.
Burned Chocolate: You’ll know it immediately: it smells bitter, darkens quickly, and becomes thick or grainy. Unfortunately, burned chocolate can’t be saved. The best move is to toss it and start over with gentler heat. Keeping this in mind is key when learning how to melt chocolate without burning it.
Seized Chocolate: This happens when moisture hits melted chocolate, causing it to clump into a thick paste. If you don’t need the chocolate to harden again, stir in ½ to 1 teaspoon of hot water at a time until it smooths out. It won’t firm up the same way afterward, but it works beautifully for sauces and hot chocolate.
Split Chocolate: When chocolate overheats, the fat separates, leaving it oily and grainy. You can fix it by whisking in a splash of warm milk or cream until the mixture comes back together. It’s a great rescue trick when you’re mid-recipe and don’t want to start over.
Creative Ways to Use Perfectly Melted Chocolate

Once your chocolate is smooth, glossy, and beautifully melted, the fun begins. This is where it becomes the backbone of some of the best desserts you’ll ever make. From drizzles to full-on decadent creations, melted chocolate brings richness and shine that no other ingredient can match. Now that you know how to melt chocolate without burning it, here are delicious ways to put it to work.
Brownies: Melted chocolate adds depth and a fudgy texture that cocoa powder alone can’t achieve. Try rich brownie inspiration from Food Network or explore chocolate-forward ideas on Berry Whisk.
Fudge: Smooth chocolate is essential for creamy, reliable fudge. Whether you’re using the microwave method or stovetop, recipes like the ones on Berry Whisk and AllRecipes make the process straightforward and rewarding.
Dessert Bars: Melted chocolate layers beautifully into bars or bars that need a glossy topping. Explore ideas from Berry Whisk’s dessert bars and pair them with your newly mastered chocolate-melting technique.
Truffles: These rely entirely on properly melted chocolate—rich, smooth, and stable enough to coat or mix with cream. High-quality truffle tutorials on AllRecipes offer reliable inspiration.
Chocolate Drips: Melted chocolate creates dramatic drips for cakes and cupcakes. When heated gently and stirred well, the consistency becomes perfect for finishing birthday cakes, holiday desserts, or celebration treats featured on Berry Whisk.
Dipping: Strawberries, pretzels, marshmallows, nuts—melted chocolate elevates all of them. Keep the heat gentle to maintain that ideal silky finish.
How to Store Melted Chocolate
Storing chocolate correctly keeps it smooth and usable for longer stretches of time. Once melted chocolate cools, it thickens naturally, but proper storage helps maintain a texture you can easily remelt without burning it.
- Room Temperature: If you’ll use the chocolate within a few hours, keep it covered on the counter. Rewarm using short intervals in the microwave or a warm-water bath.
- Refrigerator: Melted chocolate stays fresh for up to two weeks when stored in an airtight container. Reheat gently—20-second microwave bursts or a warm-water bath both work well.
- Freezer: You can freeze melted chocolate for long-term storage, though it may need more coaxing to return to a smooth state when reheated. Thaw in the fridge before warming.
Regardless of where you store it, always reheat low and slow to maintain the silky texture you want. This keeps you confidently in control when practicing how to melt chocolate without burning it.
Common Mistakes to Avoid
A few small missteps can derail your chocolate, but they’re easy to avoid once you know what to look for. Keep these pitfalls in mind and you’ll melt chocolate like a pro every time.
- Using damp bowls or utensils
- Letting the bowl touch simmering water
- Skipping the chopping step and melting large chunks
- Microwaving at full power
- Adding cold cream or butter to warm chocolate
- Rushing the process with high heat
Frequently Asked Questions
Can I melt chocolate without a double boiler?
Absolutely. The microwave and low-oven methods both work well when you heat slowly and stir consistently. Just keep the power low and avoid letting the chocolate sit too long between stirs. These gentle approaches make it easy to melt chocolate without burning it.
Why does my chocolate turn grainy or clumpy?
Graininess usually means the chocolate seized due to moisture or overheated due to high heat. Even a drop of water can throw the texture off. Always use dry tools, chop the chocolate evenly, and melt it slowly to maintain a smooth, glossy finish.
Can you melt chocolate chips the same way as bars?
Yes. Chocolate chips melt beautifully using any of the melting methods. Keep in mind they contain stabilizers that help them hold their shape during baking, so they may take a little longer to melt than chopped bars.
What’s the best chocolate for drizzling?
Dark or semi-sweet chocolate melts into the smoothest, silkiest consistency for drizzling. Couverture chocolate or melting wafers also perform well because they contain higher cocoa butter levels, giving you a flawless finish.
How do I melt chocolate for dipping strawberries?
Use the double boiler or microwave at 50% power. Both methods give you precise control over temperature, which keeps the chocolate smooth and prevents scorching. Stir until fully melted and start dipping right away.
Can I add butter or oil to melted chocolate?
You can add a small amount of butter or oil to adjust texture or thin the chocolate. Use warm additions only—cold fats can cause splitting or cooling shocks. Gentle mixing helps keep everything emulsified.
How do I keep melted chocolate smooth while dipping?
Keep the chocolate warm, but not hot. Set the bowl over a pot of warm water or give it short microwave bursts as needed. Smooth chocolate stays fluid when it stays within a controlled temperature range.
Why did my chocolate seize—and can I save it?
Seizing happens when moisture mixes with melted chocolate, causing it to clump instantly. You can sometimes save seized chocolate by adding a small amount of hot water and stirring vigorously, but it won’t re-harden the same way. It’s still great for sauces and drinks.
How do I melt chocolate without burning it in the microwave?
Use 50% power and short intervals—about 20–30 seconds. Stir thoroughly between each round and stop when the chocolate is mostly melted. The residual warmth will finish the job and keep the chocolate from overheating.
Should I temper chocolate instead of simply melting it?
Tempering is ideal when you want chocolate that sets with a shiny finish and crisp snap, such as for coating candies or making bark. Melting alone works perfectly for drizzles, brownies, and sauces, so tempering isn’t always necessary.
Final Thoughts
Mastering how to melt chocolate without burning it changes everything about the way you bake. Chocolate becomes easier to work with, your desserts turn out smoother and richer, and kitchen mishaps shrink to almost zero. Once you understand how temperature, moisture, and tools work together, every batch of brownies, fudge, bars, and drizzles becomes more predictable—in the best way. Keep this guide handy, experiment with different methods, and let perfectly melted chocolate become one of your kitchen superpowers.
More Chocolate Desserts You’ll Love
- Irresistible Chocolate Dessert Ideas for Every Craving
- Creative Chocolate Covered Strawberries for Any Occasion
- Lavender Berry White Chocolate Truffles (Elegant & Easy)


One Comment