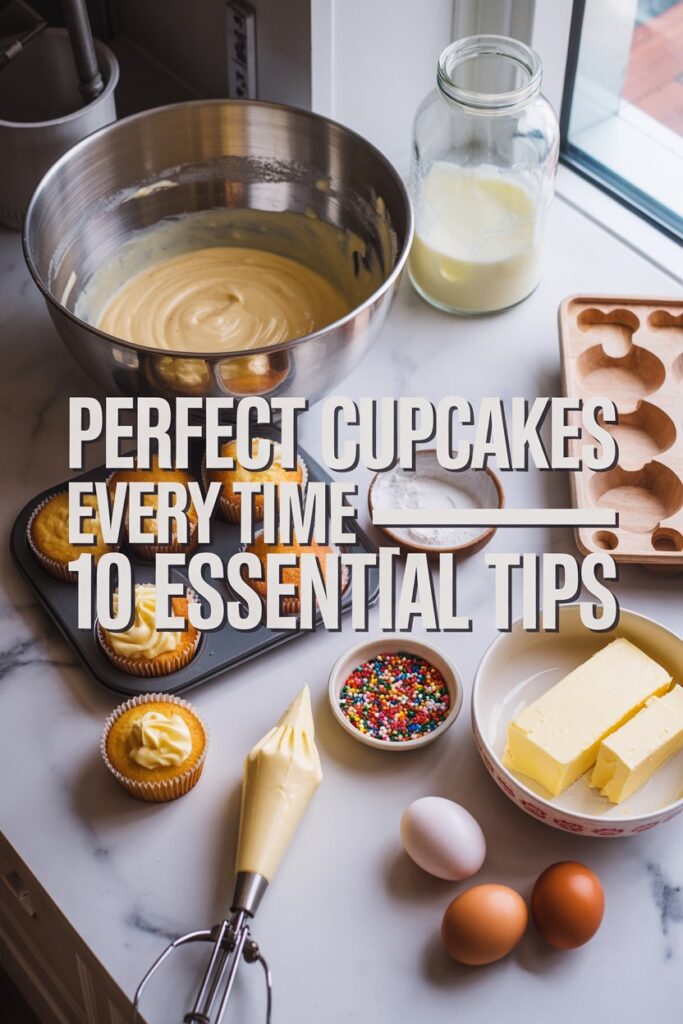
How To Bake Perfect Cupcakes Everytime
You remember the first time you smelled butter and vanilla warming in the oven. That small thrill, the hope that what you pull from the rack will taste like a memory — that is why you bake.
In this short guide you will learn simple, bakery-level tips that lift your batter and keep vanilla cupcakes moist for days, as Nagi’s recipe shows. Quality butter, real vanilla, and precise room temperature ingredients make a huge difference.
You will compare your results to famous spots like Magnolia Bakery and cozy finds such as My Little Cupcake in Neutral Bay. Use the science behind baking powder and baking soda to avoid sinking or overflow, and learn how mixer speed and flour choice shape texture.
For a deeper note on why cupcake and cake batter behave differently, see this explanation on how structure and heat interact: why batter behaves differently.
This post may contain affiliate links which helps me keep this blog alive, questions? View the privacy policy.
The Secret to Baking Perfect Cupcakes

A tiny change in technique can turn a simple batter into bakery-level treats. Start by choosing a strong recipe—Nagi’s Japanese methods emphasize gentle folding and measured aeration, which keep the crumb soft and even.
Measure your flour and sugar carefully. Too much flour makes the cake dense. Too much sugar draws moisture and makes the cupcake dry. Use high-grade cake flour when the recipe calls for it.
Decide on your base before you begin. A classic vanilla batter behaves differently than a rich chocolate mix. Read the full recipe once through so you have enough frosting and cream on hand.
- Control mixing time to avoid overworking gluten.
- Match oven temperature to batter weight and tin size.
- Plan your prep time so cooling and decorating are calm, not rushed.
For more creative inspiration and variations, check these rainbow cake ideas to spark new frosting and flavor combos.
Essential Ingredients for Bakery-Style Results

Choosing the right staples is the fastest way to turn home baking into bakery-grade results. Start by gathering quality basics so your process is calm and precise.
The Role of Room Temperature Ingredients
Room temperature eggs and unsalted butter emulsify better in the mixing bowl. That creates a smoother batter and a finer crumb in every cupcake you bake.
Test your leavening: drop a bit of baking powder or baking soda into hot water. If it bubbles vigorously, it’s fresh and will lift your cake correctly.
Why All-Purpose Flour Wins
Tessa Arias tested six batches to compare flours. Her results show that while cake flour can be delicate, all-purpose flour often gives more stable structure and fewer crumbles.
- Measure sugar and dry ingredients precisely to build a consistent crumb.
- Add a tablespoon of oil to boost moisture and extend freshness.
- Use quality vanilla extract and unsalted butter for bakery-level flavor.
For creative green dessert ideas that pair well with this recipe approach, see green dessert ideas.
Mastering the Mixing Process
How you blend ingredients decides the lift and crumb of every cake you bake. This stage is where texture forms, so take a steady, patient approach.
The Importance of Aeration
Aeration starts with beating your egg and sugar until they triple in volume. That foam traps air and gives you the light, airy texture of professional vanilla cupcakes.
Use a reliable mixer — Aurelia still trusts her 80s Kenwood to give consistent results. If you hand-whip, keep your strokes steady and confident.
- Scrape the sides of the bowl often so dry ingredients mix in evenly without extra beating.
- Fold in flour and baking powder with a gentle hand to protect air pockets.
- Keep all items at room temperature so the batter stays stable and blends smoothly.
Control mixing time to avoid developing too much gluten. This keeps the crumb tender and helps your frosting sit nicely on each cupcake.
For a seasonal twist and filling ideas, try this cherry crescent recipe for inspiration: cherry crescent recipe.
Precision in Filling and Baking
Precise portioning and timing are what make the difference between good and bakery-style results. Fill each cupcake liner about two thirds full so the batter rises to a neat dome without spilling over.
Preheat your oven to 180°C/350°F and set a reliable timer for 22 minutes. Use a standard ice cream scoop to control the amount of batter in each cup. This helps every cake rise evenly and reduces lopsided tops.
- Measure batter into each liner to about 2/3 capacity.
- Bake at 180°C/350°F for exactly 22 minutes for a golden, tender crumb.
- Keep eggs at room temperature so the batter aerates and rises well.
- Use a cooling rack immediately after baking to stop carryover heat.
Follow these steps and your vanilla cupcakes will show consistent texture and color. Small, exact actions in the bowl and at the oven bring big rewards when you plate, frost, and share.
Advanced Techniques for Consistent Texture
Mastering how fat and liquid react in the oven is the fastest route to even texture. Use targeted methods to keep your crumb soft and your tops uniform.
Butter-Based Methods
Butter adds flavor and a tender crumb, but it needs gentle aeration. Cream butter and sugar until light. Then fold flour in with care so the batter keeps air pockets.
Tip: If an edge looks uneven, wipe a knife with butter and nudge the top into shape while still warm. This helps a neat dome form.
Oil-Based Variations
Oil yields moister cake and handles longer storage better. You can mix wet ingredients first, then add dry. That reduces overmixing and keeps the batter satiny.
Rotate the pan halfway through baking when making chocolate or vanilla versions to even out hot spots in your oven.
Handling Fruit and Vegetable Additions
Chunky mix-ins sink without a plan. Distribute the batter in two stages: add a spoonful of plain batter, place fruit or grated veg, then top with more batter.
- Drag batter up the sides of your cupcake liners just before baking to encourage an even rise and professional-looking top.
- Gently toss small fruit in a dusting of flour to prevent sinking.
- Use a reliable scoop so each cup gets the same amount and bakes evenly on the rack.
- Follow these expert tips and your batter will bake into soft, consistent cake every time.
- Try variations in oil and butter to match the recipe and desired crumb.
- For creative ideas on layered color and fillings, see rainbow cake ideas and a sweet filled pastry cherry crescent recipe.
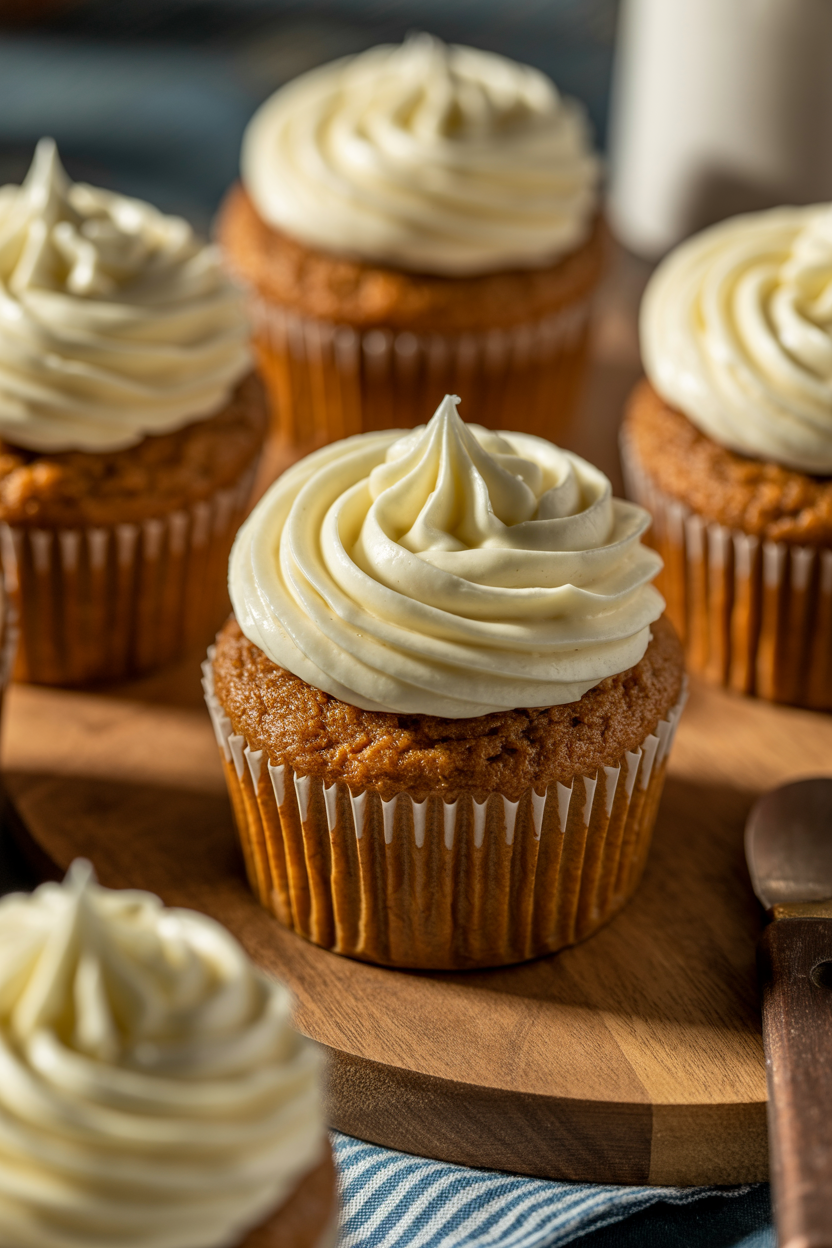
Choosing the Right Frosting
The right icing can turn a simple bake into a polished, bakery-style finish. Think about texture, sweetness, and how long you need the topping to hold up during serving or transport.
Classic buttercream gives rich flavor and pipes beautifully. It pairs well with a vanilla batter and stands up at room temperature for short displays.
- Swiss meringue buttercream holds its shape during travel and gives a smooth, less-sweet finish — ideal if you need structure for tall swirls.
- Whipped vanilla frosting is lighter and less sweet. It complements delicate crumbs but usually needs refrigeration to stay firm.
- Always let your cake cool completely before frosting. Warm cake will melt butter in the icing and cause sliding.
Experiment with recipes to find the sweetness that suits your taste. A well-chosen frosting not only looks professional but also helps seal in moisture, keeping each cupcake fresh longer. For more on how batter behaves and why texture matters, see why batter behaves differently.
Storage Tips for Lasting Freshness
A few careful storage steps will keep your cupcakes soft and flavorful. Let each cake cool completely on a cooling rack before you cover it.
Once cool, place cupcakes in an airtight container. Make sure to set a sheet of parchment paper over the tops before sealing. This protects the frosting from sticking and keeps the dome intact.
In humid weather, refrigerate your cupcakes to prevent sogginess. Bring them back to room temperature an hour before serving so the crumb and cream regain their softness.
- Avoid stacking naked cupcakes; stacking can crush the delicate top and ruin texture.
- If you need to freeze them, wrap each cupcake individually and use a sturdy container to block odors and freezer burn.
- Follow these simple tips and most homemade vanilla cupcakes stay fresh for up to four days.
For more on long-term storing and freezing, see our storing and freezing tips and adapt them to your favorite recipe.
Troubleshooting Common Baking Errors
When a tray comes out uneven or sunken, the fix usually starts with your leavening and oven routine.
Check baking powder and baking soda. Old powder or soda loses lift. Test them by dropping a little into hot water—if it fizzes, it’s active.
If your batter ends up dense, you may be over-mixing or using too much flour for the recipe. Mix until just combined and spoon then level dry ingredients instead of scooping.
For minor shape issues, wipe a knife with butter and nudge the top while still warm; the dome will smooth and set as it cools.
- Sunken centers: try a slightly lower oven temperature or reduce the amount in each liner.
- Record exact egg and ingredient amounts so you spot patterns when results change.
- Keep notes on oven hot spots, batter thickness, and any swap in oil or vanilla extract.
With clear notes and these simple tips, you’ll learn to make consistently delicious, even perfect cupcakes. For creative pairings, see green dessert ideas.
Conclusion
Baking consistently takes patience, honest notes, and a few reliable habits you can repeat. Focus on quality ingredients, correct temperatures, and gentle mixing to lift each batch. These are the habits that move you toward baking reliable, delicious treats.
Pay attention to small details: egg temperature, how you fill liners, and timing in the oven. Those little steps change texture and shelf life more than big swaps.
Don’t be discouraged by a few rough runs. Troubleshooting is part of learning. Keep notes, make one change at a time, and you’ll see steady improvement.
For color or frosting ideas that pair well with your final bakes, explore creative options like these rainbow cake ideas. Enjoy the process and share the results—you’ll build confidence and consistently make perfect cupcakes for friends and family.
FAQ
How do you prepare batter so your cupcakes rise evenly?
Start by bringing butter, eggs, and milk to room temperature so they blend smoothly. Sift dry ingredients like flour and baking powder together to avoid lumps. Use a hand or stand mixer on low to combine, then increase speed briefly to add air—this gives a steady rise without tunnels. Fill liners about two-thirds full and bake on the center rack for even heat distribution.
What role does vanilla extract play in flavor, and how much should you use?
Vanilla extract enhances the overall flavor and rounds out sweetness. For a standard dozen, use about one to two teaspoons of pure vanilla extract. If you prefer a pronounced vanilla profile, choose a high-quality brand like Nielsen-Massey or McCormick and avoid imitation extract for best results.
Why are room temperature ingredients important?
Room temperature butter and eggs blend more easily with sugar, creating a smoother batter that traps air and yields a fine crumb. Cold ingredients can cause uneven texture and underdeveloped volume. Take 30–60 minutes for items to warm on the counter before mixing.
Can you use cake flour instead of all-purpose flour?
Yes. Cake flour has lower protein and gives a softer, more tender texture. If you only have all-purpose flour, measure correctly and consider replacing two tablespoons per cup with cornstarch to mimic cake flour. That keeps the crumb light without making the batter too dense.
How do you avoid overmixing the batter?
Mix just until ingredients are combined and no streaks of flour remain. Overmixing develops gluten, which can make cupcakes chewy. Fold in dry ingredients with a spatula for the last few turns, keeping speed and time minimal to preserve tenderness and rise.
What’s the best oven temperature and timing for consistent results?
Preheat your oven to 325–350°F depending on recipe and pan size—325°F for taller, denser cakes; 350°F for lighter cupcakes. Bake for 16–22 minutes, checking at the lower end. Use an oven thermometer to confirm accuracy, and rotate the pan halfway if your oven has hot spots.
How should you fill liners to prevent domes or flat tops?
Fill cupcake liners about two-thirds full for a gentle dome and three-quarters for a higher top. Overfilling causes overflow and uneven baking, while underfilling yields flat cakes. Use an ice cream scoop or a measuring cup to keep portions consistent.
What differences do butter-based and oil-based batters make?
Butter-based batters give richer flavor and slightly firmer structure; they benefit from creaming to incorporate air. Oil-based batters produce moister cupcakes that stay tender longer. Choose butter for classic flavor and oil for extended softness, and adjust mixing technique accordingly.
How do you add fruit or vegetables without making the batter soggy?
Drain and pat additions like berries or shredded carrots to remove excess moisture. Toss small pieces in a light coating of flour to prevent sinking. Fold them in gently at the end of mixing to preserve batter aeration and even distribution.
What frosting should you use for stability and flavor balance?
For stability at room temperature, use Swiss or Italian meringue buttercream, which holds shape and tastes less sweet. Classic American buttercream is quick and reliably sweet; cream cheese frosting pairs well with carrot or red velvet. Chill frosted cupcakes briefly to set the topping before serving.
How do you store cupcakes to keep them fresh for days?
Store unfrosted cupcakes in an airtight container at room temperature for up to two days. Add a slice of bread to maintain moisture if needed. Frosted cupcakes last two to three days in the fridge—bring them to room temperature before serving to restore texture and flavor.
How do you manage temperature and humidity when storing or transporting baked goods?
Keep cupcakes away from direct heat and sunlight. In humid conditions, store in a cool, dry place or refrigerate to prevent frosting from melting and to reduce moisture absorption. For transport, use a flat carrier with a lid and stabilize cupcakes with non-slip liners to avoid shifting.
What are common reasons for dense or sunken cupcakes and how do you fix them?
Dense or sunken cupcakes often result from overmixing, expired leavening agents, too much liquid, or opening the oven door too early. Use fresh baking powder or baking soda, measure ingredients accurately, and mix only until combined. Maintain steady oven temperature and resist opening the door during the initial rise.
How do you test doneness without drying the cake?
Use a toothpick or thin knife inserted into the center—when it comes out with a few moist crumbs, the cupcake is done. Avoid testing too early. After removing from the oven, let cupcakes cool in the pan for five minutes, then transfer to a cooling rack to finish cooling evenly.